| < Previous page | Next page > |
|
Introduction
The purpose of this tutorial is to introduce you to the “look and feel” of CDS.
You will learn how to
The data will have been installed with the program installation.
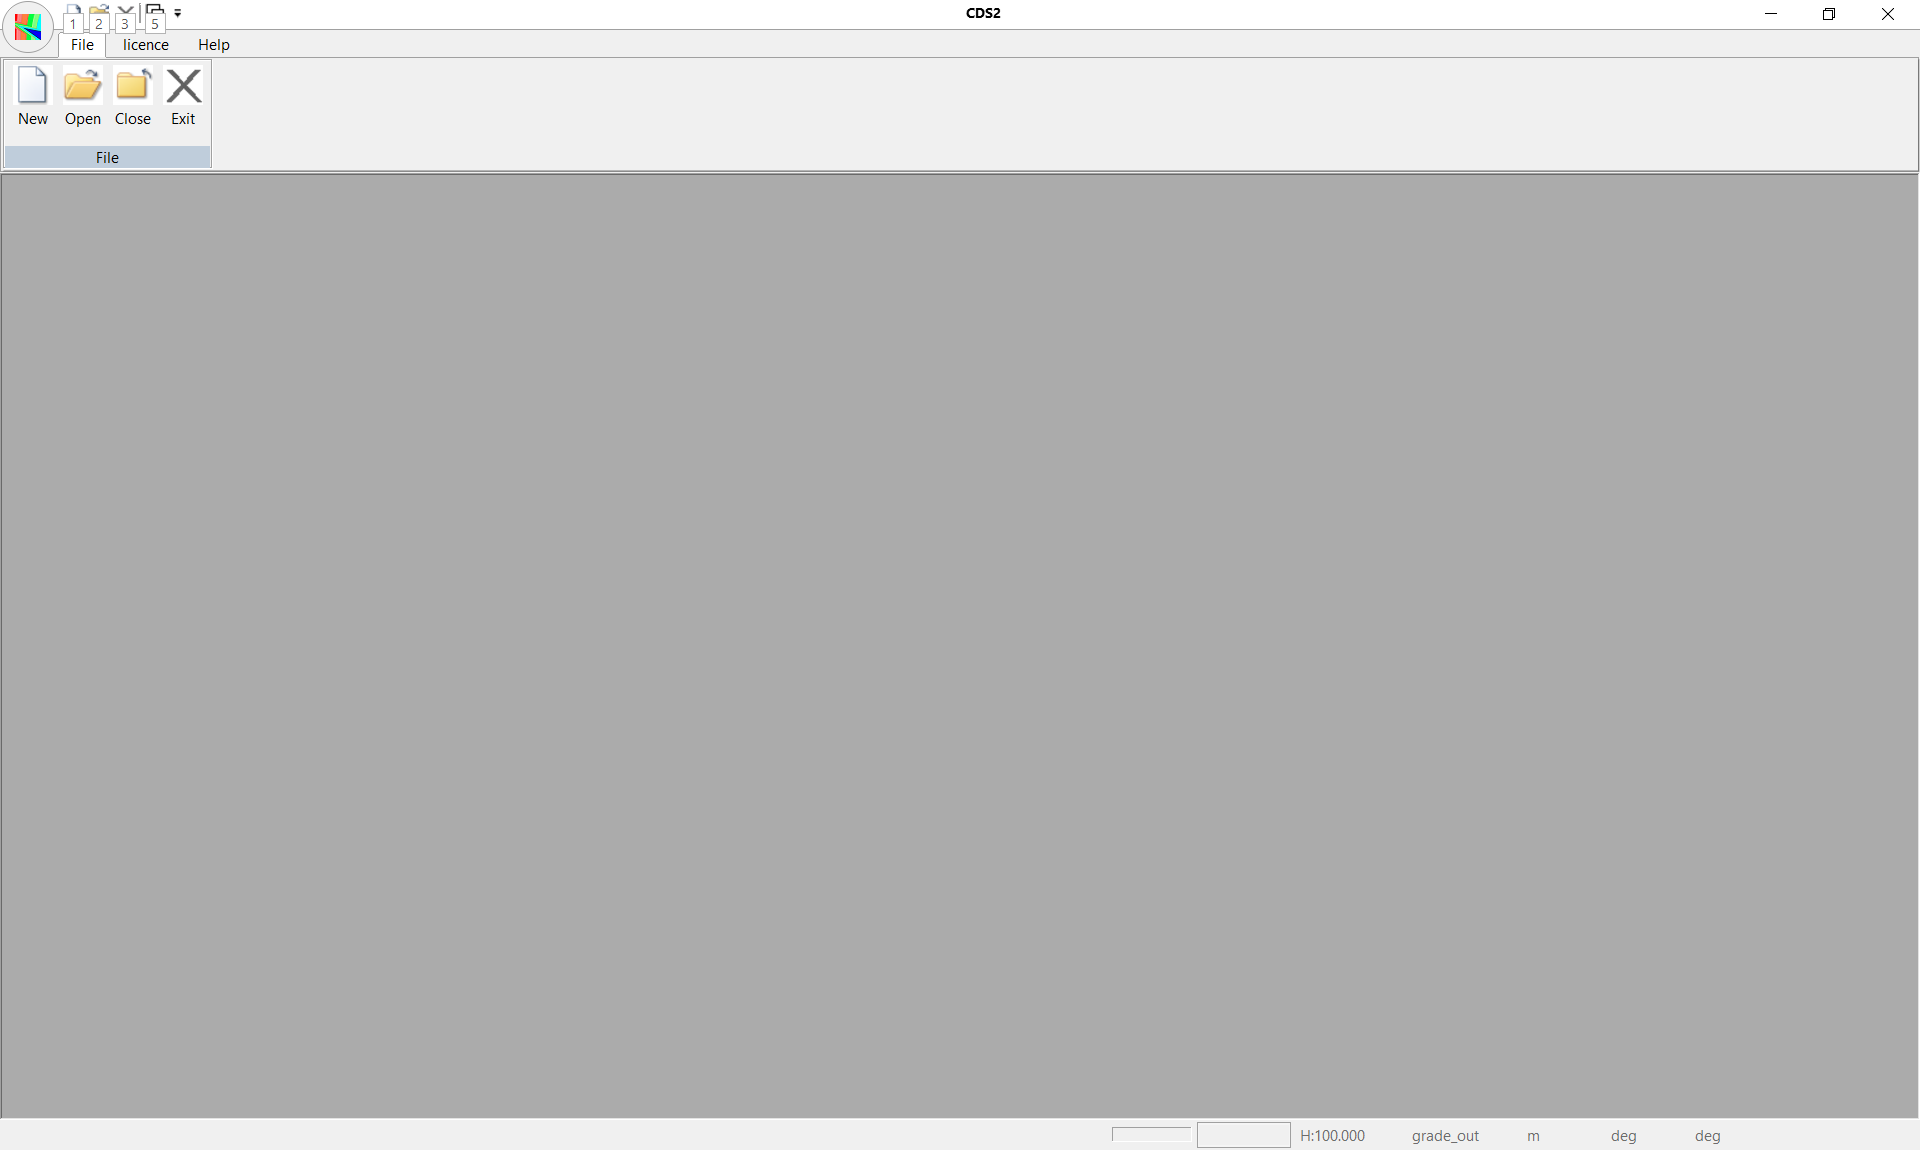
Note: It is not the intention of these tutorials to provide you with basic instruction in how to use Windows. If you do not already have a basic knowledge of how to use Windows to do the everyday things like; start programs, open folders, select files, minimize and maximize sessions, set up printers and print then it is reasonably pointless in trying to complete these tutorials. Please save yourself time and frustration by first undertaking some basic training so you are comfortable with the basic functions provided by your operating system before you attempt to undertake these tutorials. Once you are ready to proceed, click on the CDS3 icon from your desktop.
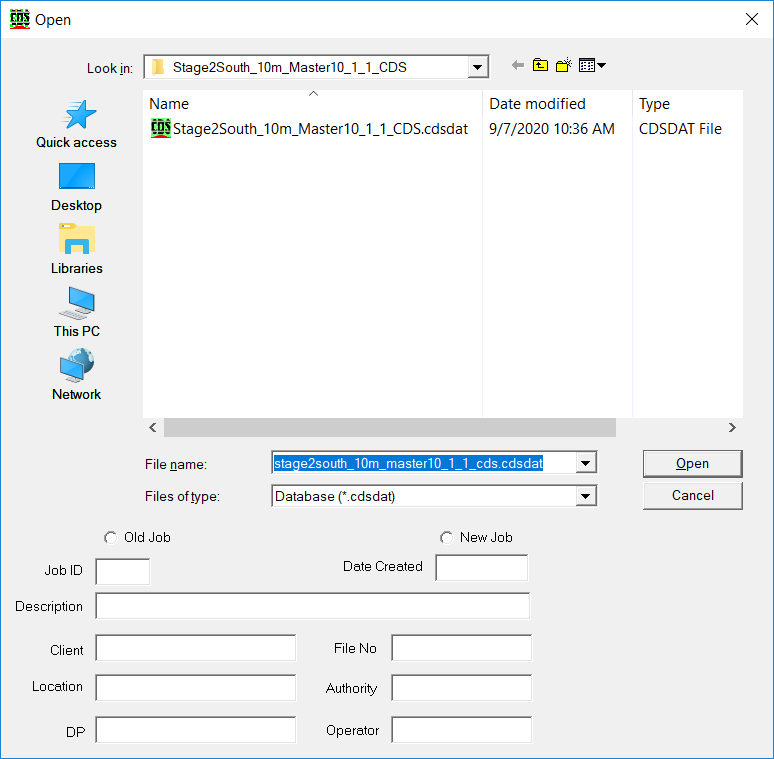
Now select File from the menu followed by Open. The tutorial data has been stored in a folder named “Foresoft\cds3\Tutor” so you need to use Windows to open that folder for you. You will see that the program is suggesting that you Look In a folder named My Documents. Use the Windows browsing capabilities to search for the folder named \foresoft\cds3\tutor and open it. Once the folder is open the screen similar to that seen below. (Depending on the version of this document, there may be more, less or different files listed in the folder, so don’t worry if the screen is not 100% identical)
Each job is stored in a compound file with the extension of .cdsdat As you select these CDS files with a single click of your cursor, you will see details about the job listed in the relevant descriptive fields, allowing easy identification.
The Job, or Database that we are interested in is job “970”, so highlight the file called “970.cdsdat”. The descriptions should indicate that it is data for Tutorial 1A, so double click “970.cdsdat” and the screen should appear as below.
We can also open this file from within windows explorer. In this method we open windows explorer and find the data file 970.cdsdat Simply double click on this file and CDS is run and the file is automatically opened.
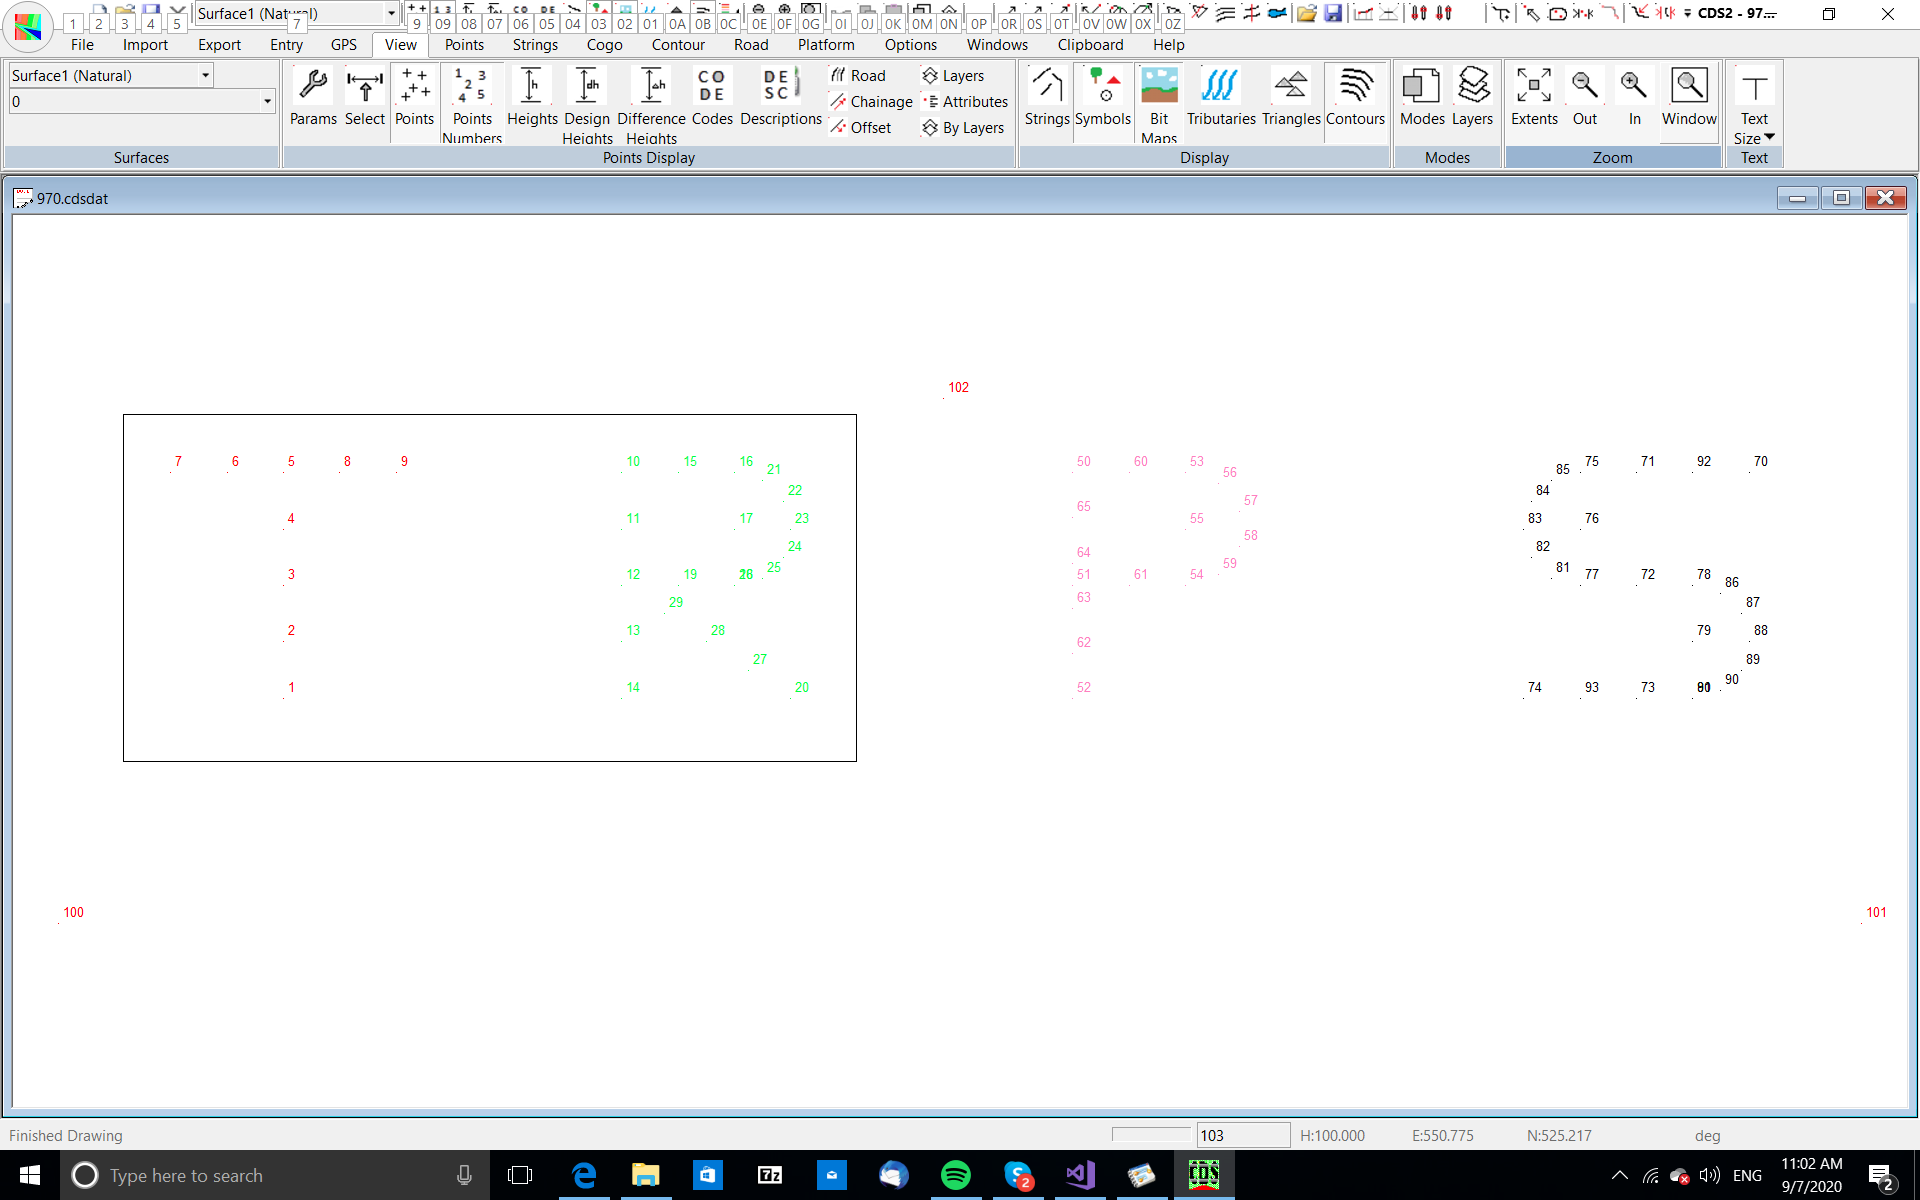
Please note that the points in the job are not meant to represent anything like the jobs you will encounter in daily practice, but are merely an invented set of points designed to spell out TRPS, and to be used in this Tutorial.
So, if you use your imagination, and can make out the letters of TRPS on your screen we are off to a good start, so let’s explore what functions are available.
Zoom
If you have a wheel mouse you have access to dynamic zoom and pan. Rotating mouse wheel will dynamically zoom in or out. Holding down the mouse wheel and moving the mouse will automatically pan the display.
For finer control you can access a number of Zoom functions. The zoom functions are found under the "View" menu.
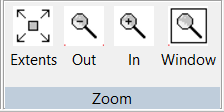
Extents, Out and In change the view accordingly.
Selecting the "Window" menu item or pressing the "Z" key sends you to Zoom Mode.. Your cursor will change to a magnifying glass. The program is now waiting for you to place a Window around the area you are interested in. To do this move your cursor to where you want one corner of the window to be, and hold down the select button (normally the left one) on your mouse. With the button held down, move the mouse to drag the window until it envelopes the area you wish to see at a larger scale.
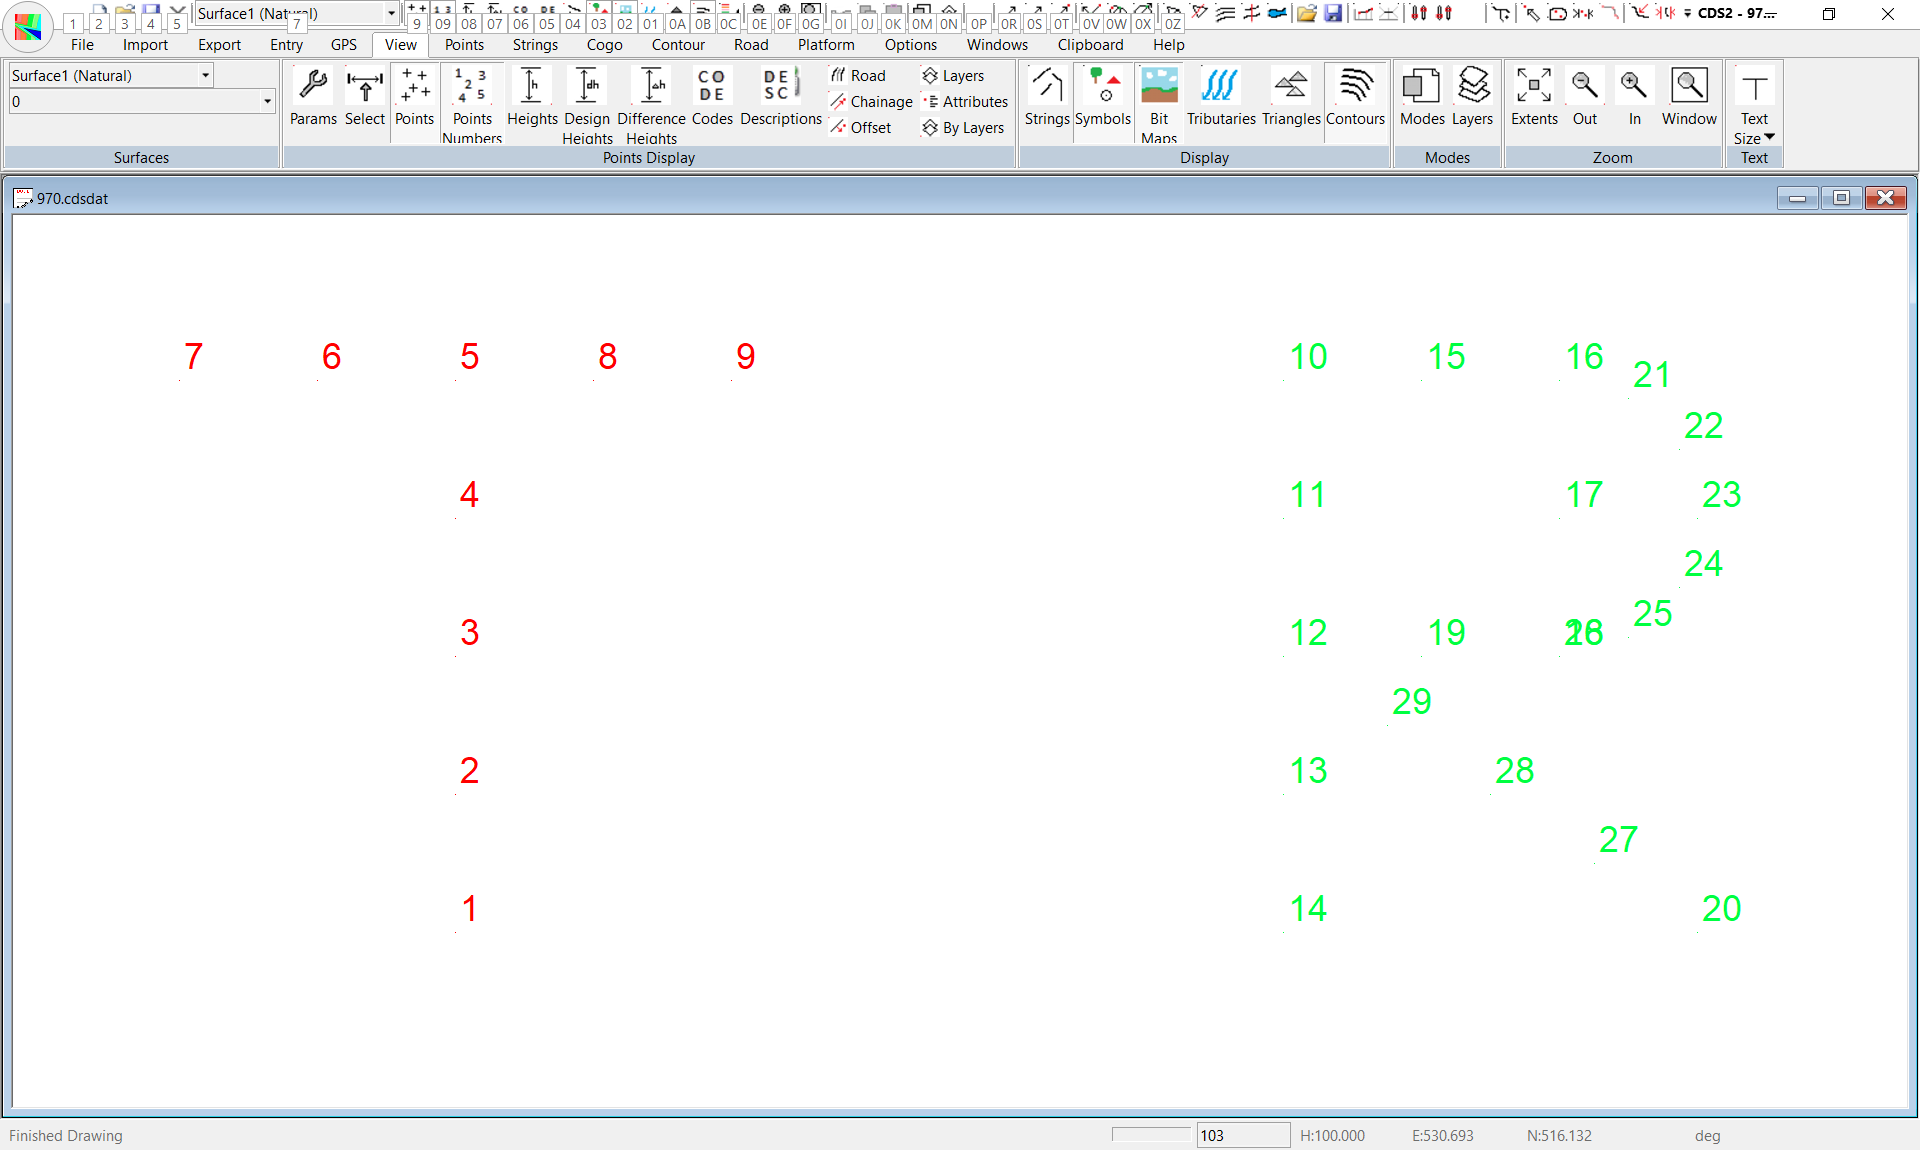
For example, in the screen below left you see a window around the “T” and “R” in this job, and in the screen on the right you see the screen which is presented once the button is released.
Please note that the program takes the dimension of the window you specify and then expands that in whatever direction necessary to keep the correct aspect ratio of the displayed data.
Don’t be confused by those programs that allow you to put a window around something, and then only display the contents of the window on the screen, that is not the intention here.
The other function currently available within zoom is to reverse the effects of the Zoom Window, and to again display the whole job in the active window.
To achieve this you wish to Zoom Extents, so when you activate Zoom (either from the icon, or pressing Z) immediately press the “E” key to indicate Extents are required, and the screen will be redrawn to show all the points in the job within the active window.
Pan the Display.
As well as Zooming, it is useful if you can also Pan, which means to move the existing window over the underlying data. To Pan, you can either;
If you have a wheel mouse you have access to dynamic pan. Holding down the mouse wheel and moving the mouse will automatically pan the display.
- Press the “P” key, or
- Select the Icon with 4 arrow heads on the toolbar (seen above).
When you enter Pan mode, the cursor will change to be a cross bearing 4 arrow heads as seen above.
All you need to do to Pan is to put the cursor near the point you wish to move, press the left mouse button, and hold it down while you ‘drag’ the cursor to where you would like the point to be.
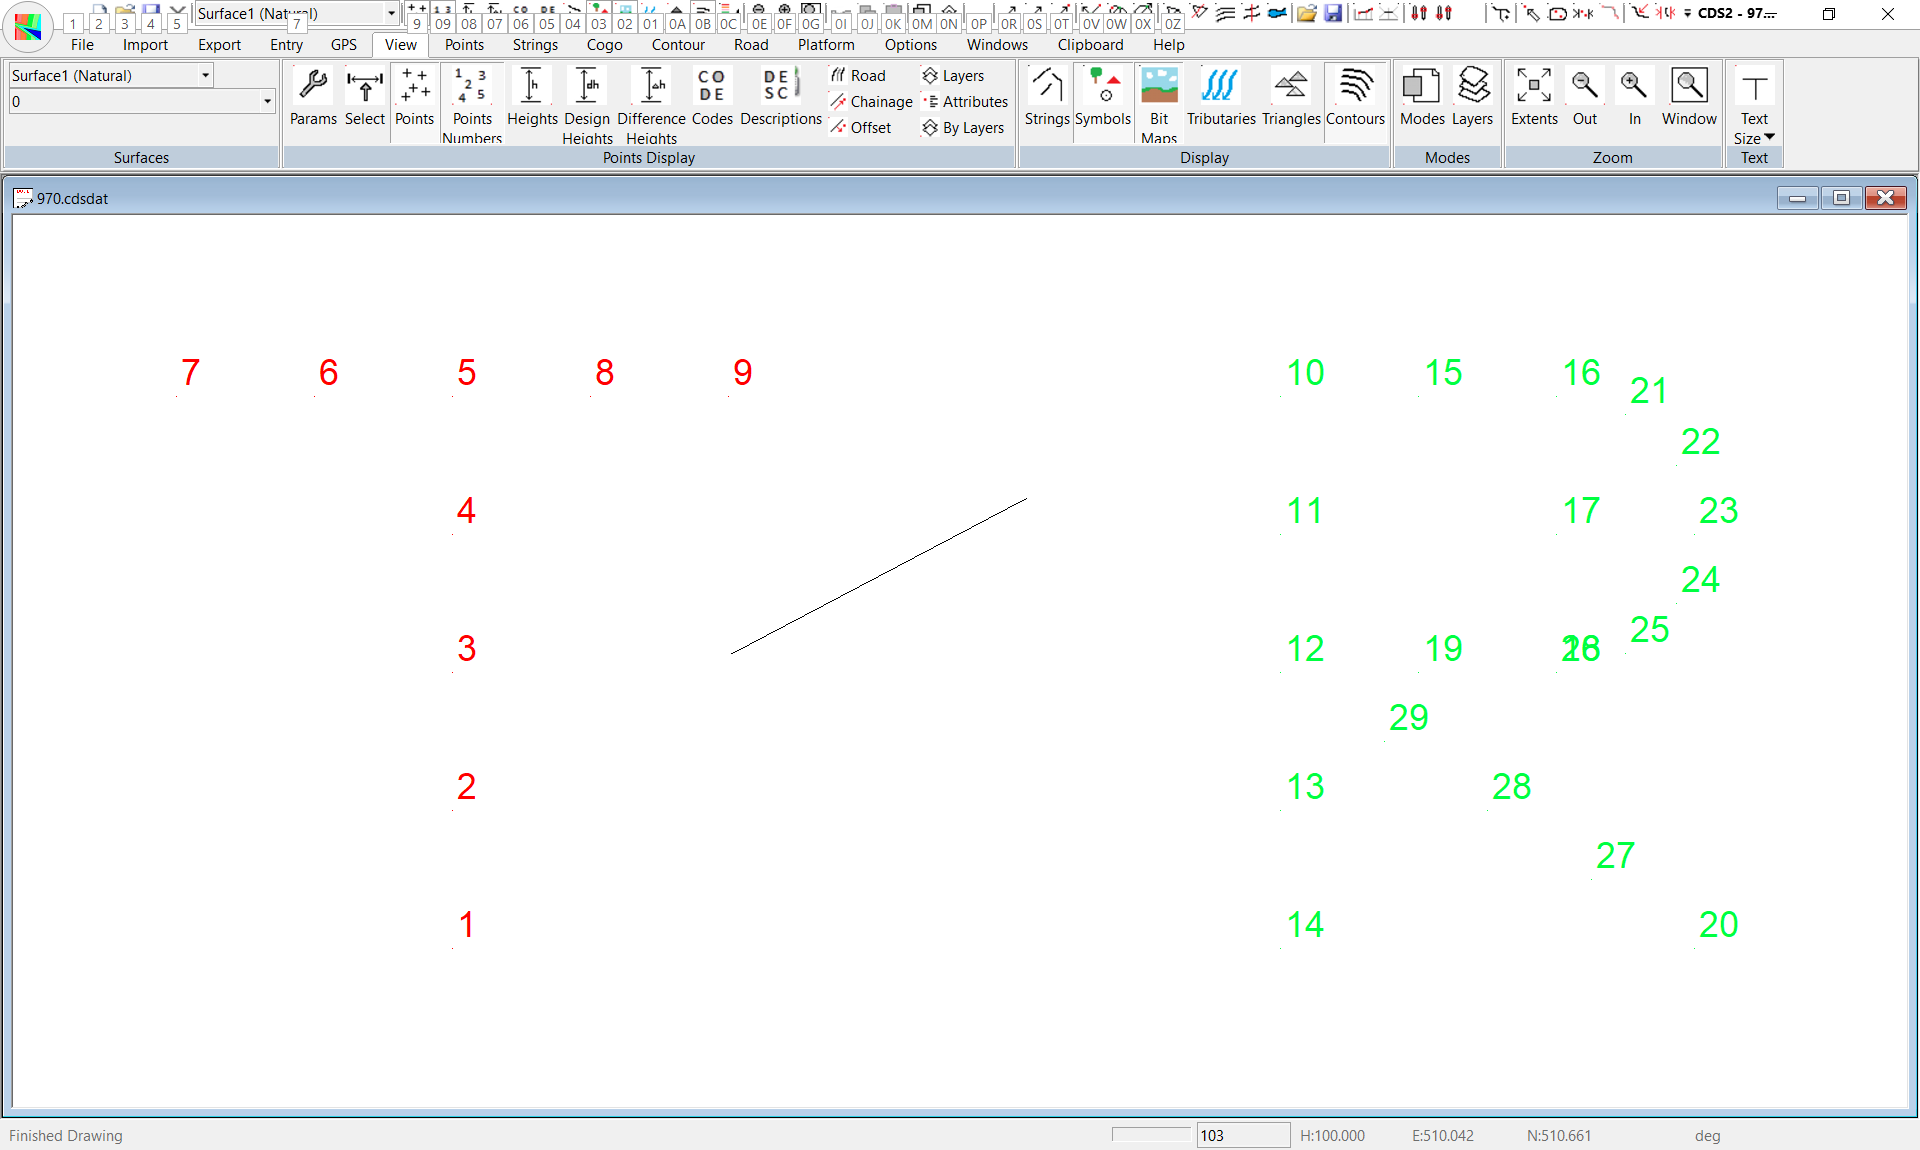
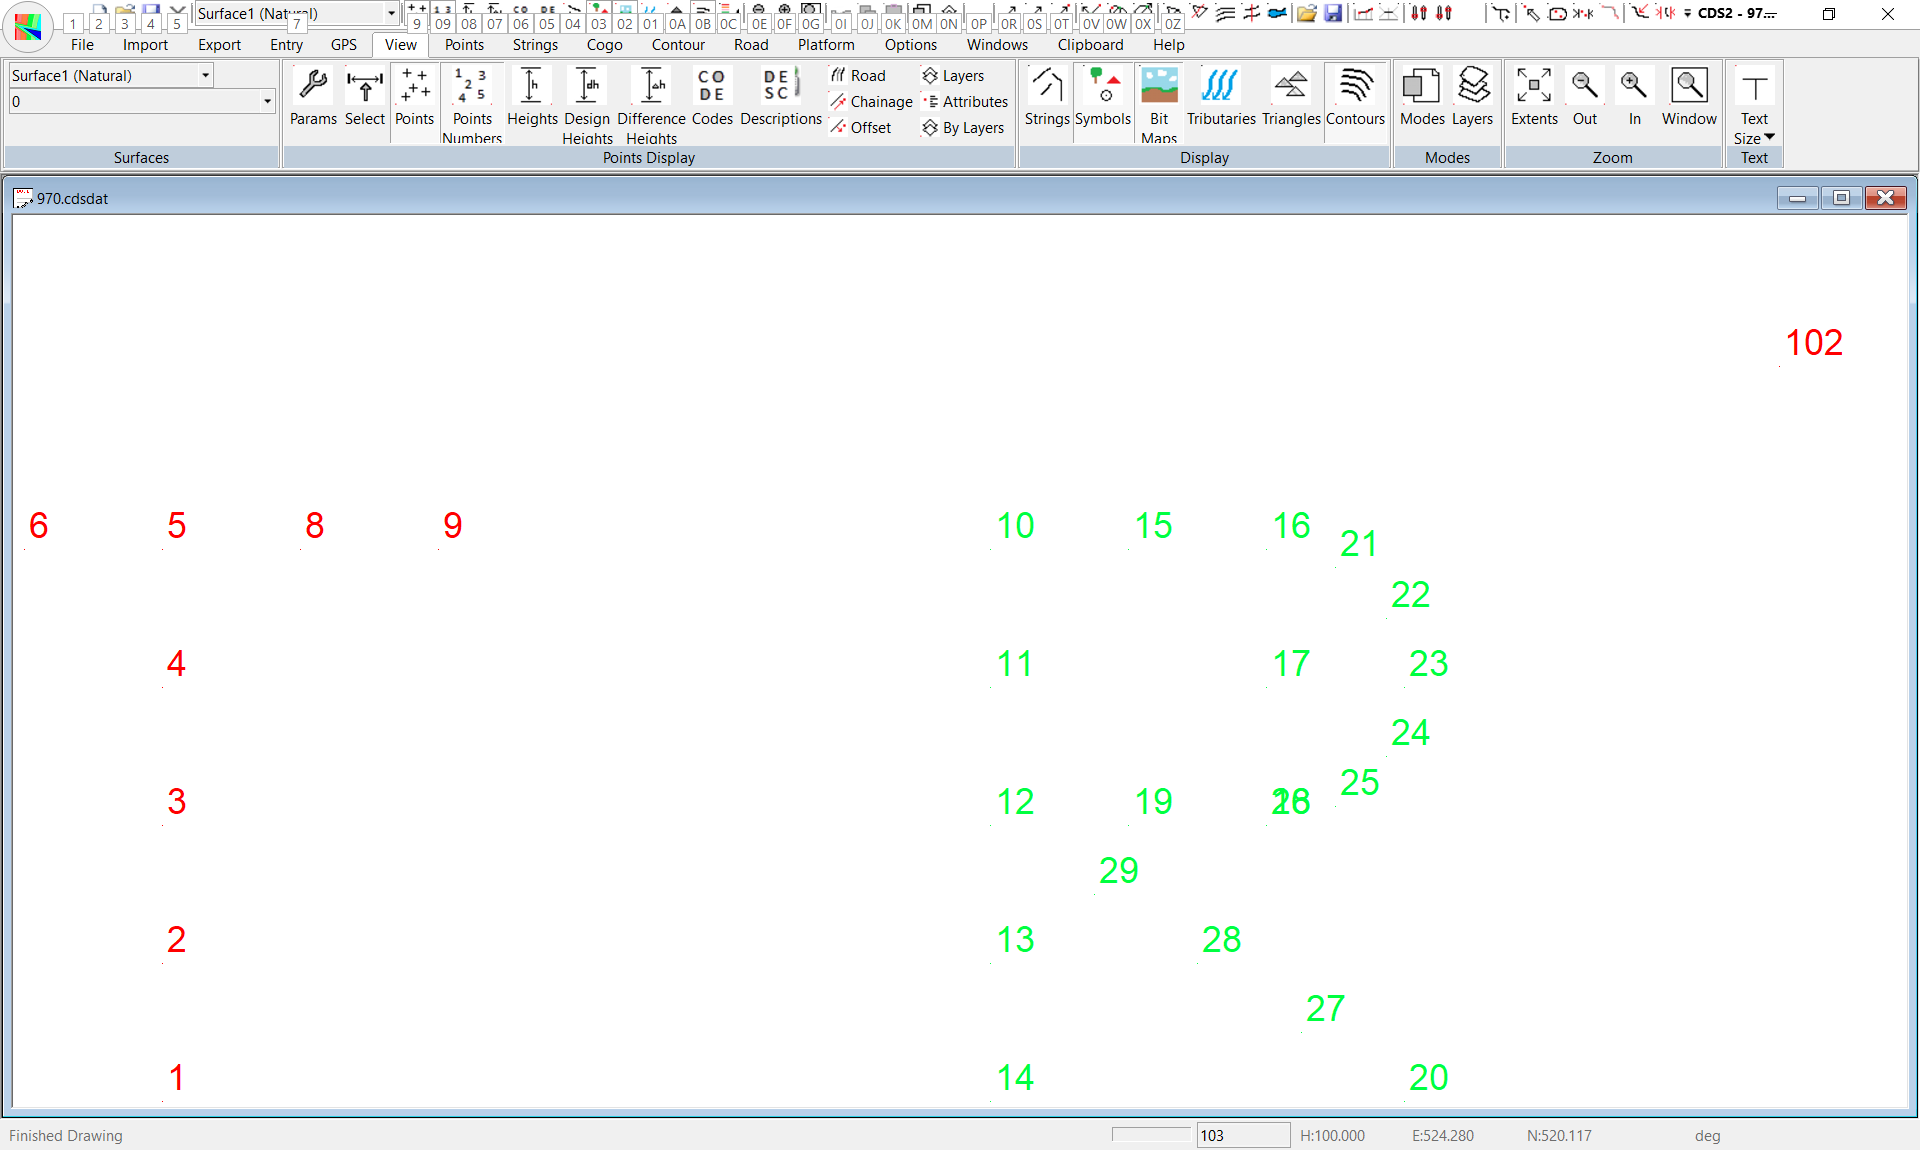
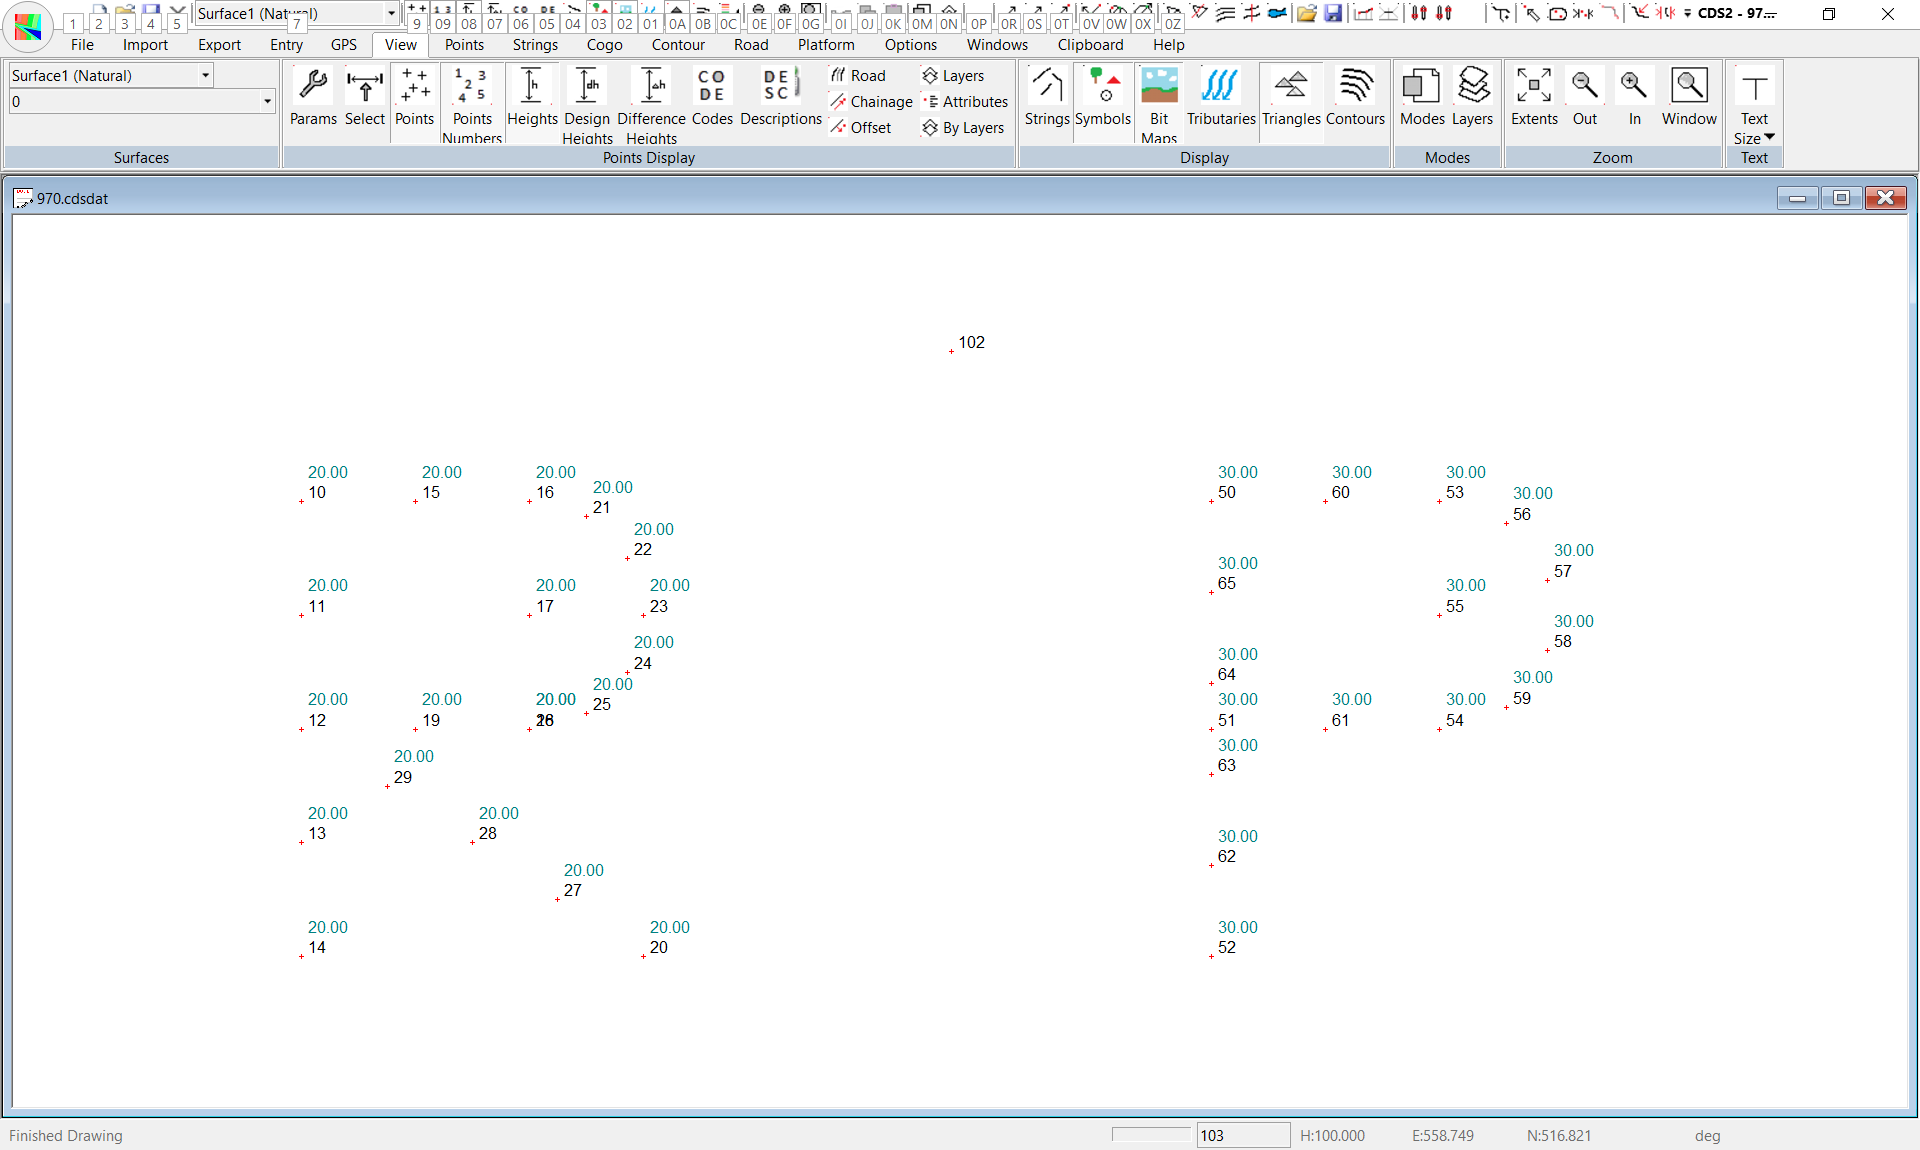
For example, in the screen below left we have positioned the cursor near Point 12 in the “R”, then dragged across to near the left hand border, and down a little from horizontal. You will see a line drawn to show where the item will move.
When you release the mouse button the screen will be redrawn in its new location, as seen in the screen shown below right.
Now that you know how to control the extent of the data which is displayed, next you need to consider how you can control what is shown on that display at any point in time as far as the attributes of the points, strings, contours and triangles are concerned.
The combined effects of the Modes and Layers functions control the Display, and first we will consider Modes.
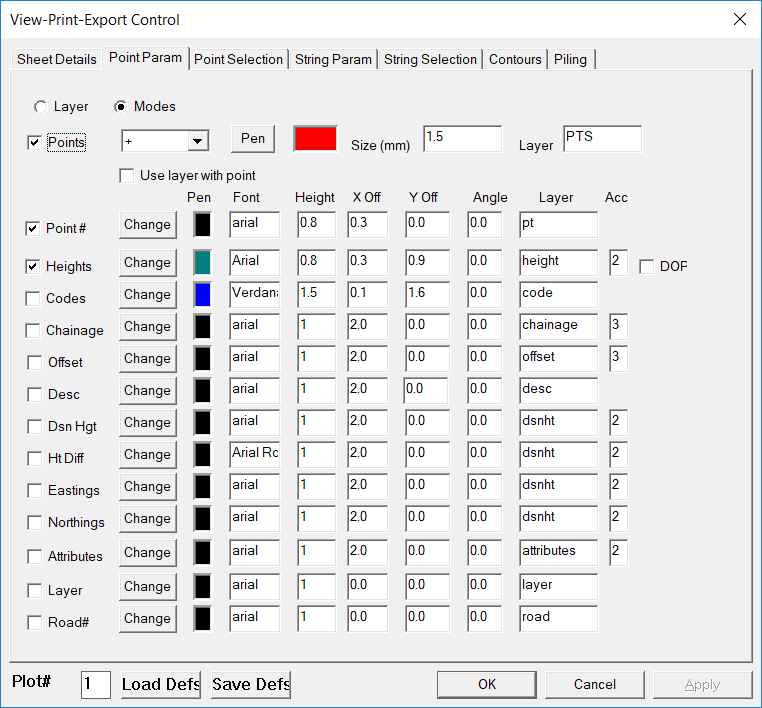
Modes - Display
Layers
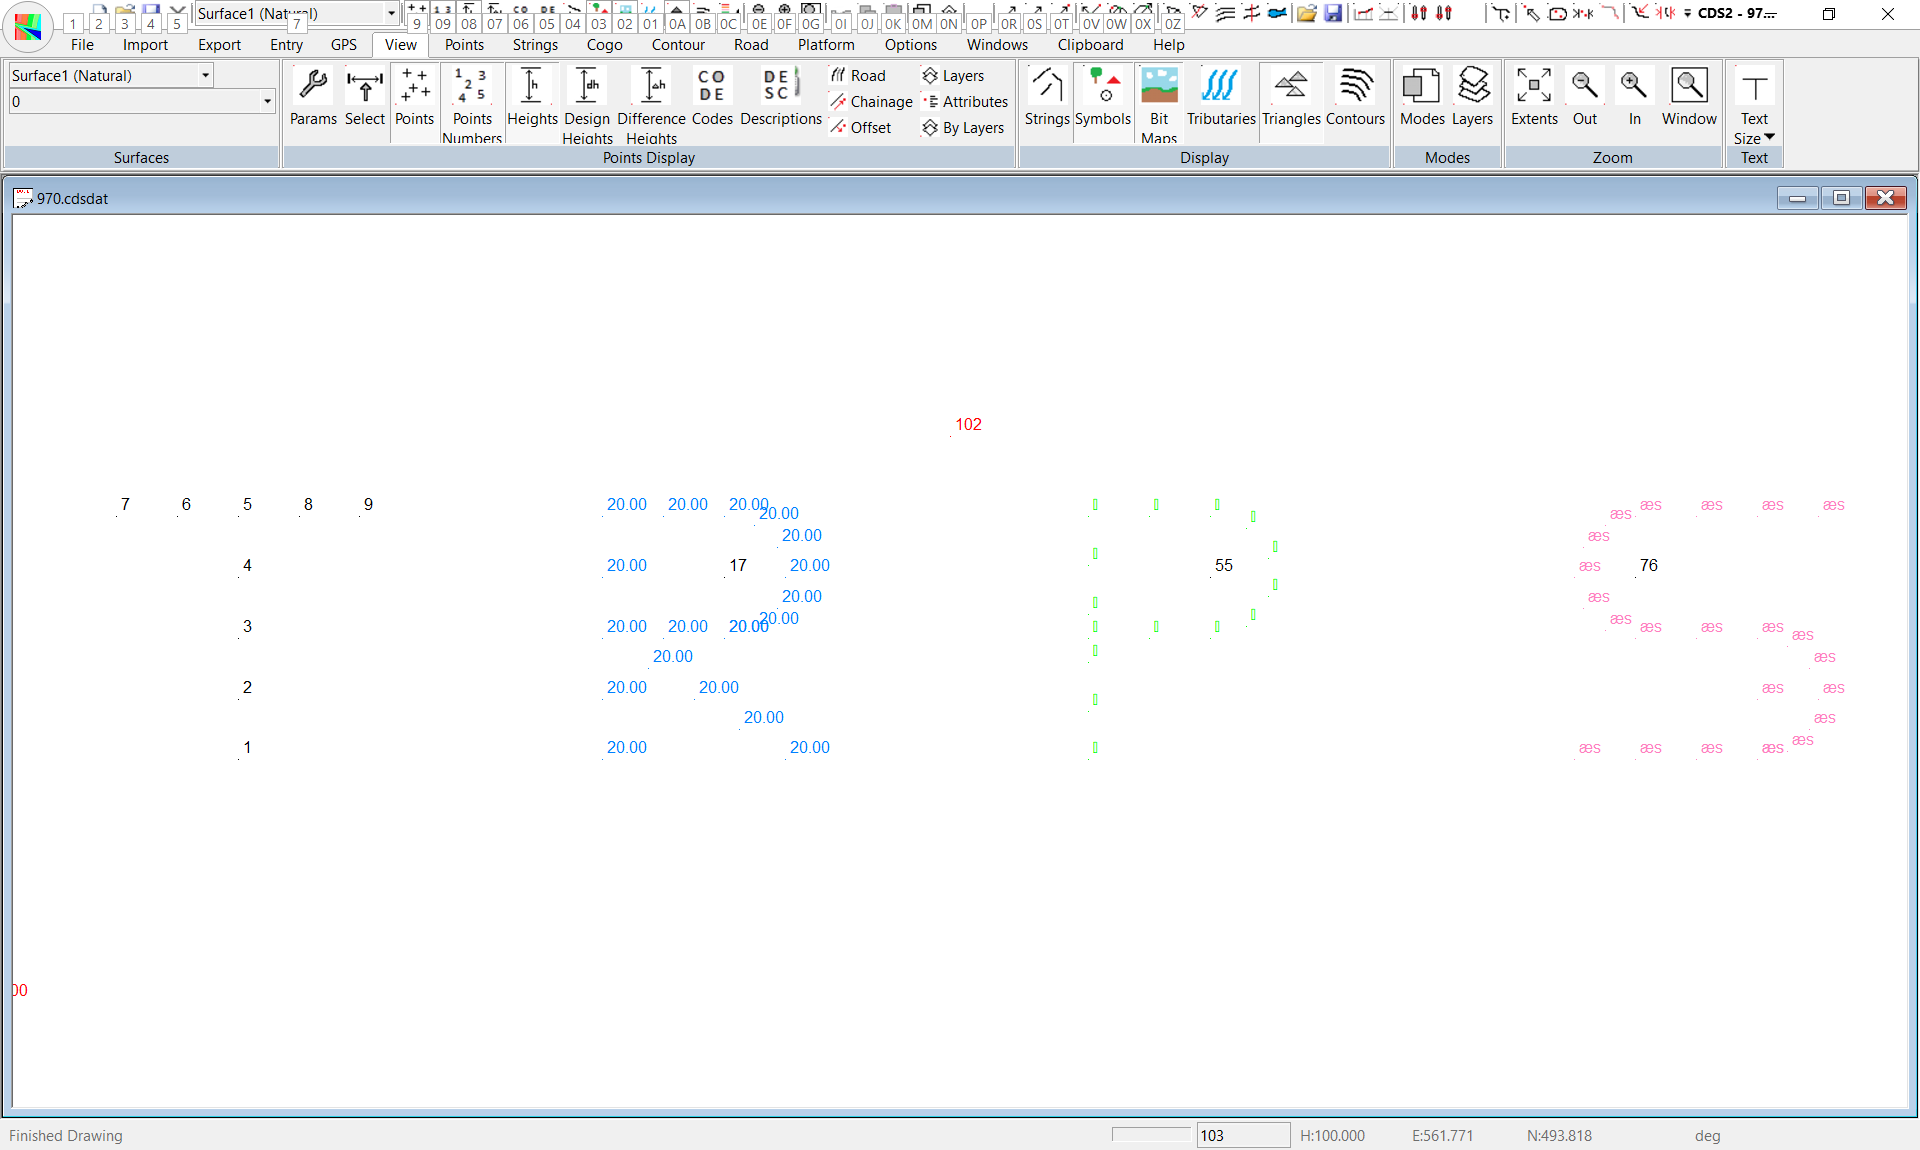
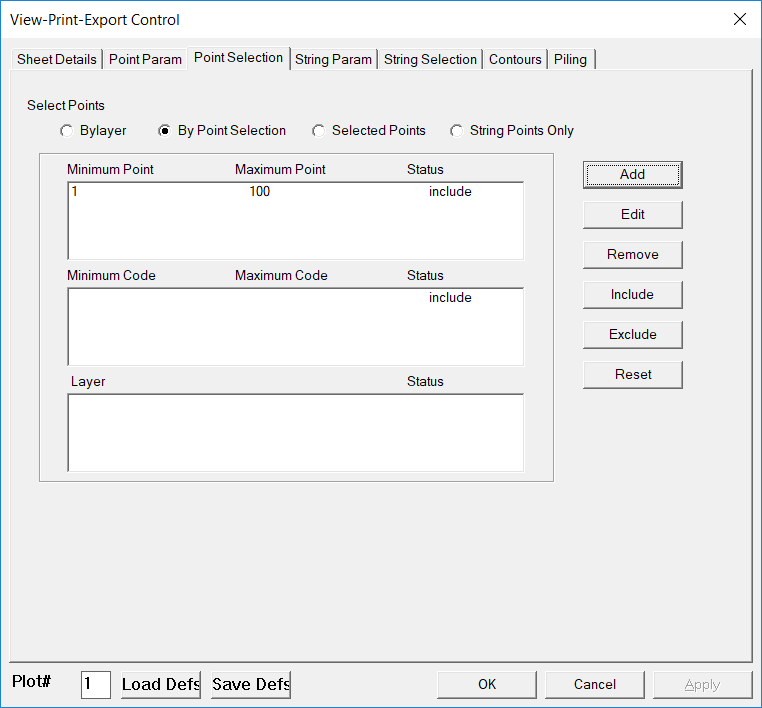
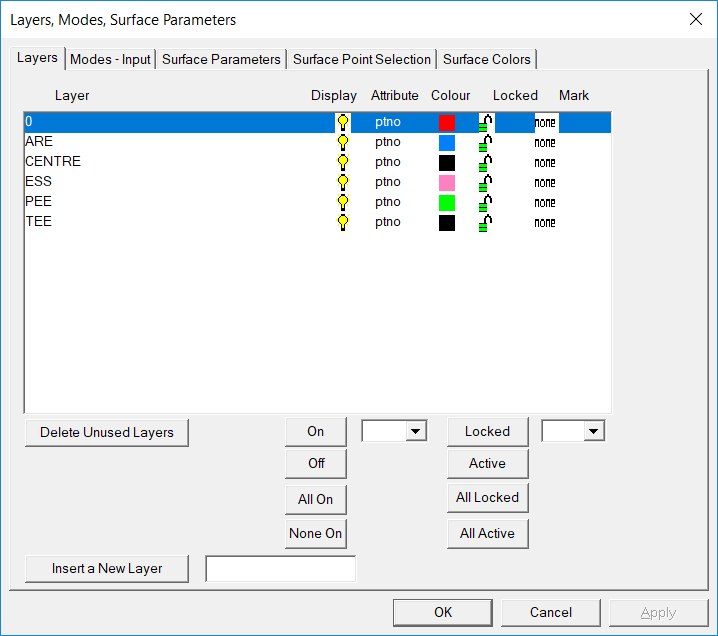
Once you have made the relevant selections select the “OK” button and you should see a display as above. As well as allowing selection of which attributes are to be displayed, the layers function allows you to display only those points in which you have a current interest. So, for example, call up your layers screen again, turn off all layers except “TEE” and “PEE”, and the screen should appear as below.
Hint: One way to achieve this with a minimum of actions is to select “None On” to turn all layers off with one action, and then select Tee and turn it on, and then Select Pee and turn it on.
The standard Windows method of selecting items using Shift Select for Groups and Control Select for individual items is applicable in the Layers function.
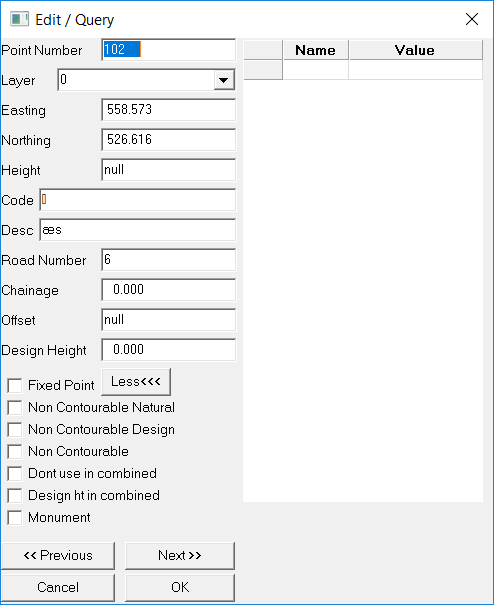
Query / Edit
This is
Joins / Inverts
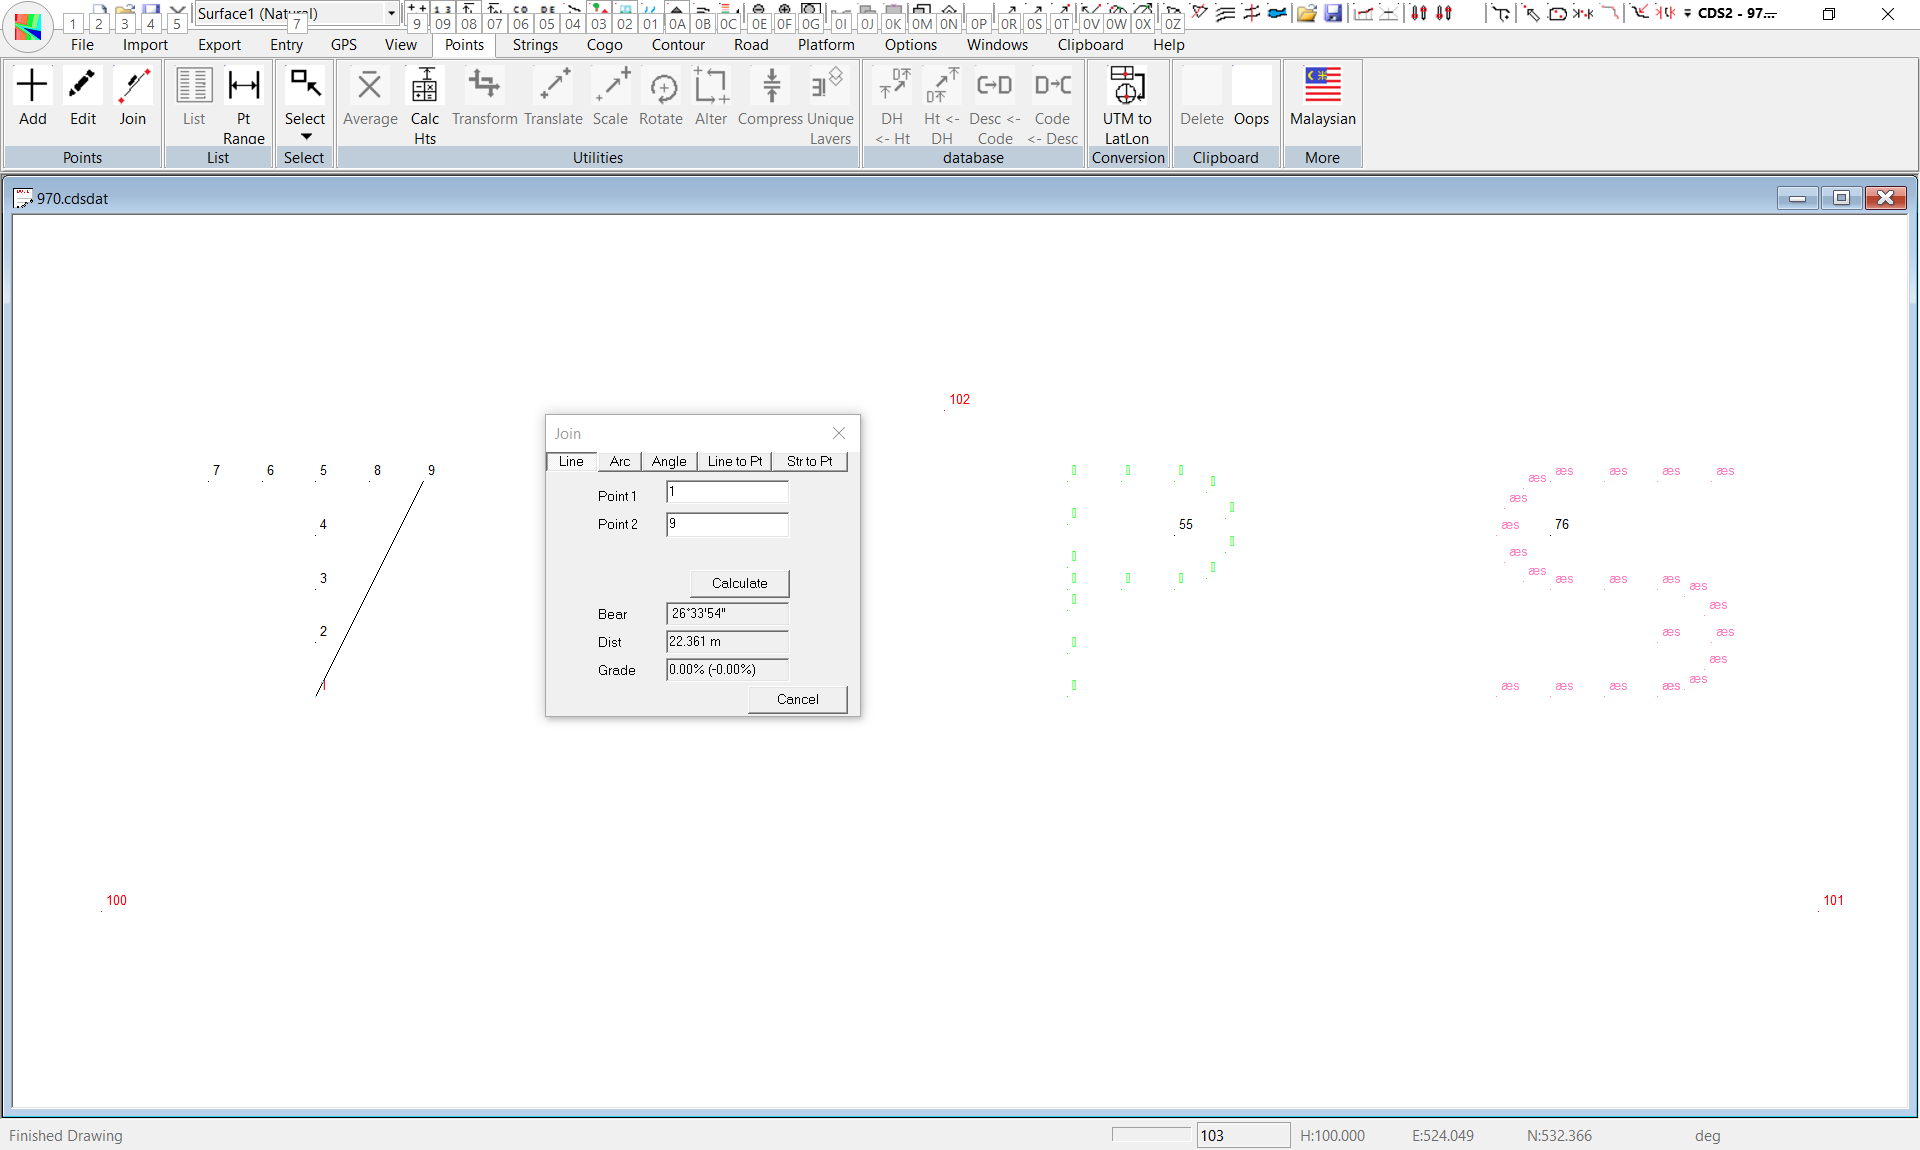
You will often need to know the bearing and distance between two points in your job, and in CDS we call this a “Join”. ( It is also known as an “Inverse” in some areas.)
Click on the Points -> Join button. You can also access this function by pressing the “J” key on your keyboard. This is one of the “Hot Keys” which you need to remember to make better use of the software easier.
If you select Points 1 and 9, the bearing and distance between them will be displayed as seen in the screen at right. If both points have valid heights.
then the percentage grade between them will also be displayed. You will also see a line drawn on the screen between the points.
Multiple Windows
In some cases it is useful to have two (or more) different views of a particular job, and this can be easily achieved as shown below, but before you start, use your Layers function again and turn all the layers On.
First pull down the “Window” menu from the menu list, and select the “New Window” option. You will see a second window appear with your job displayed in it, and when it appears it is “cascaded” over the existing window, partly obscuring the first window.
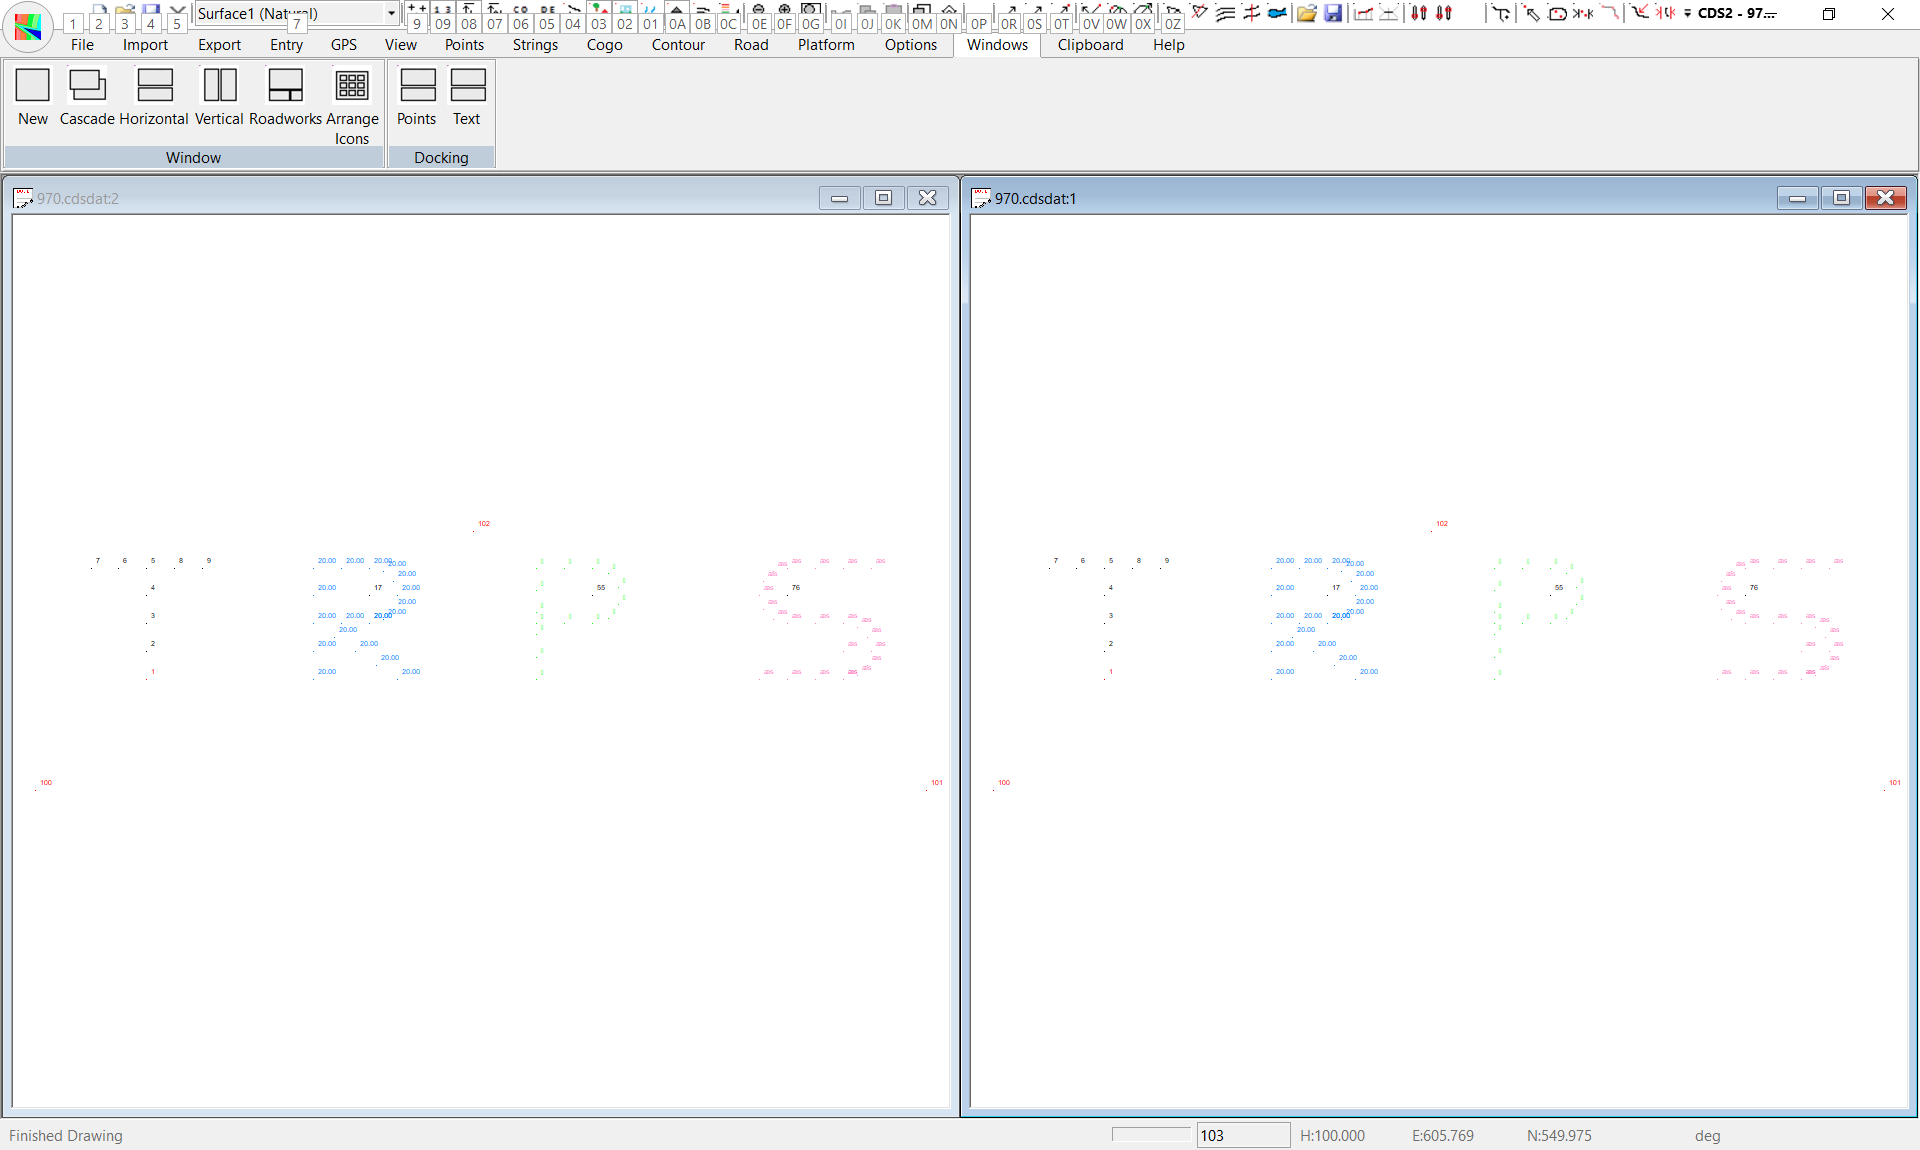
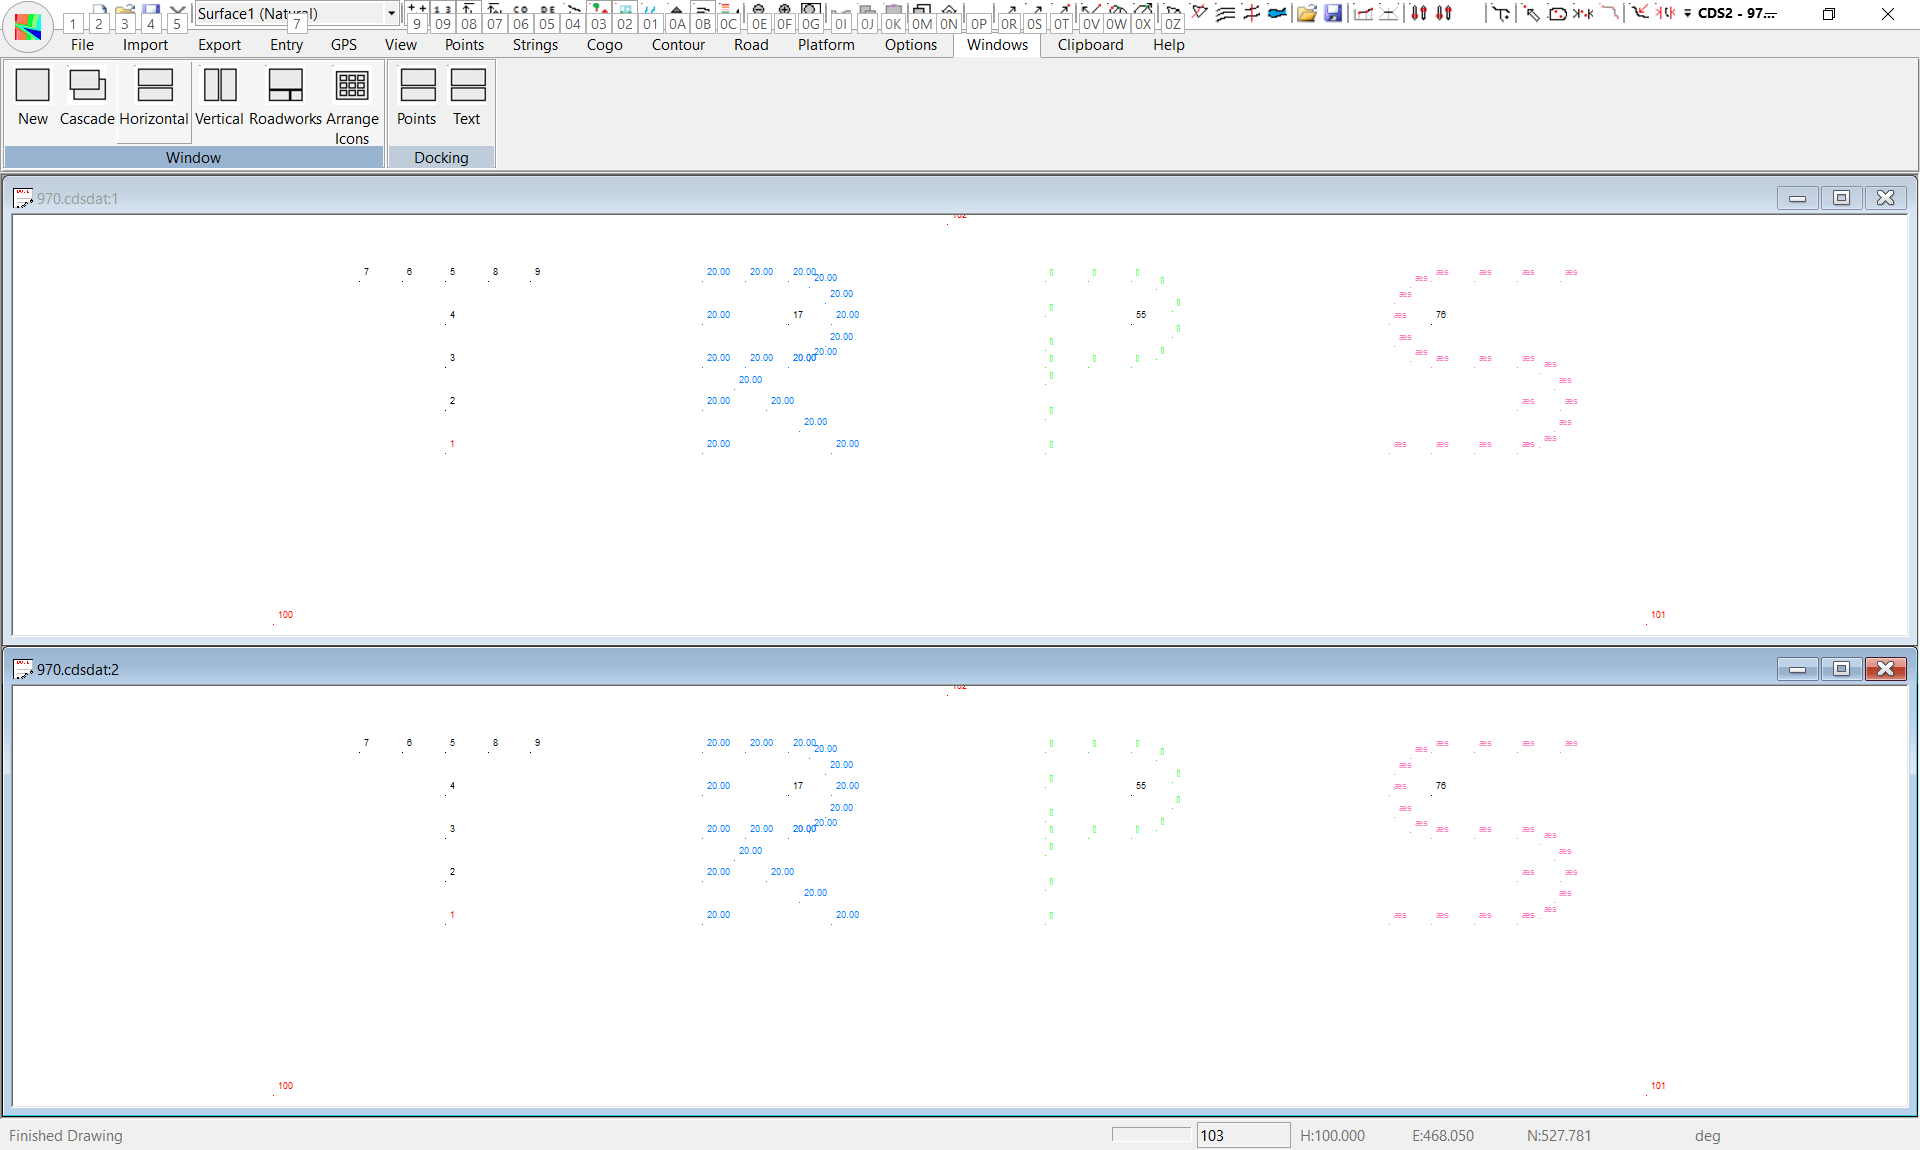
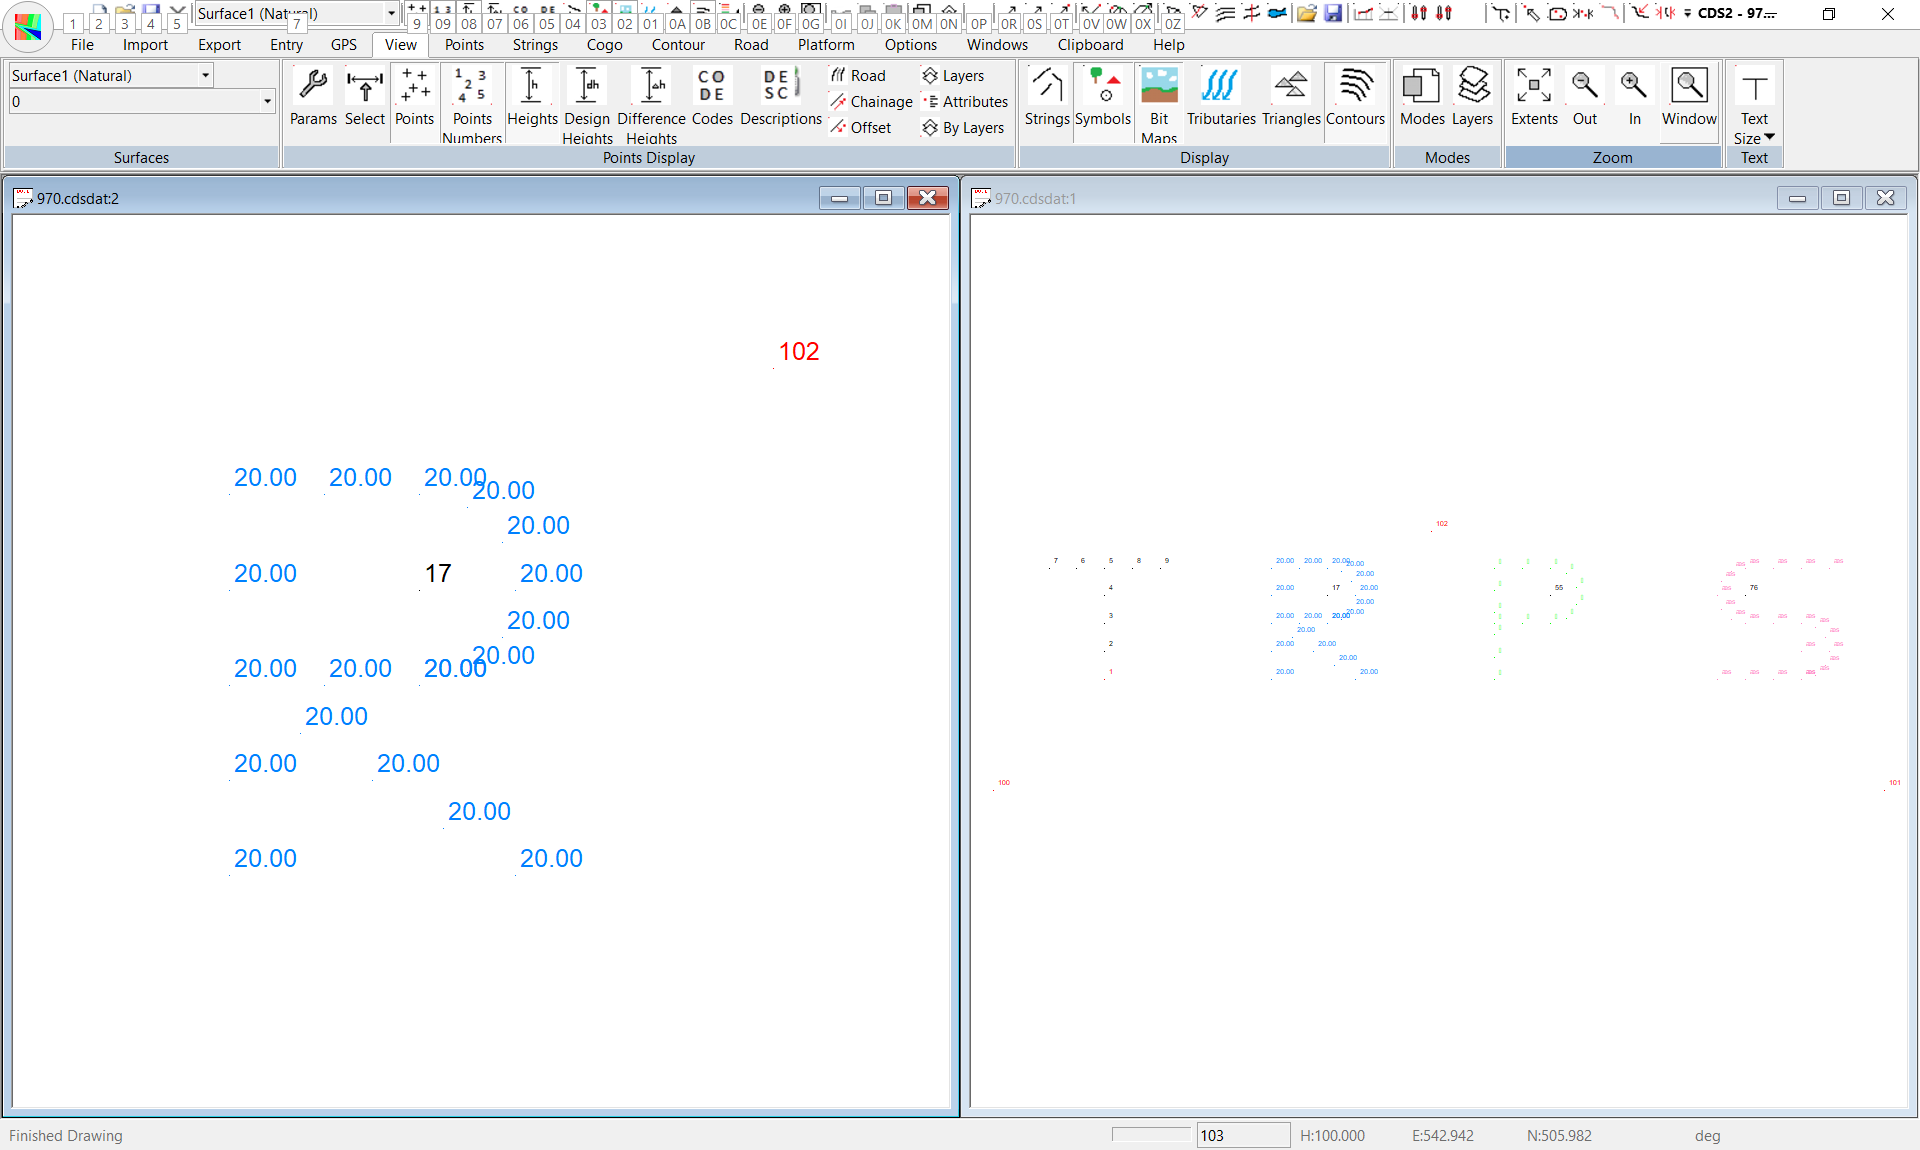
So you can see the contents of both windows at the one time, CDS has function to allow you to “tile” the windows, and because jobs are of different shapes, you have the ability to tile either vertically or horizontally.
If you again pull down the Window menu and select the option to Tile Vertically, the screen will appear as in the diagram below left, while if you choose to Tile Horizontally, you screen will resemble the screen below right.
Multiple Jobs on Display
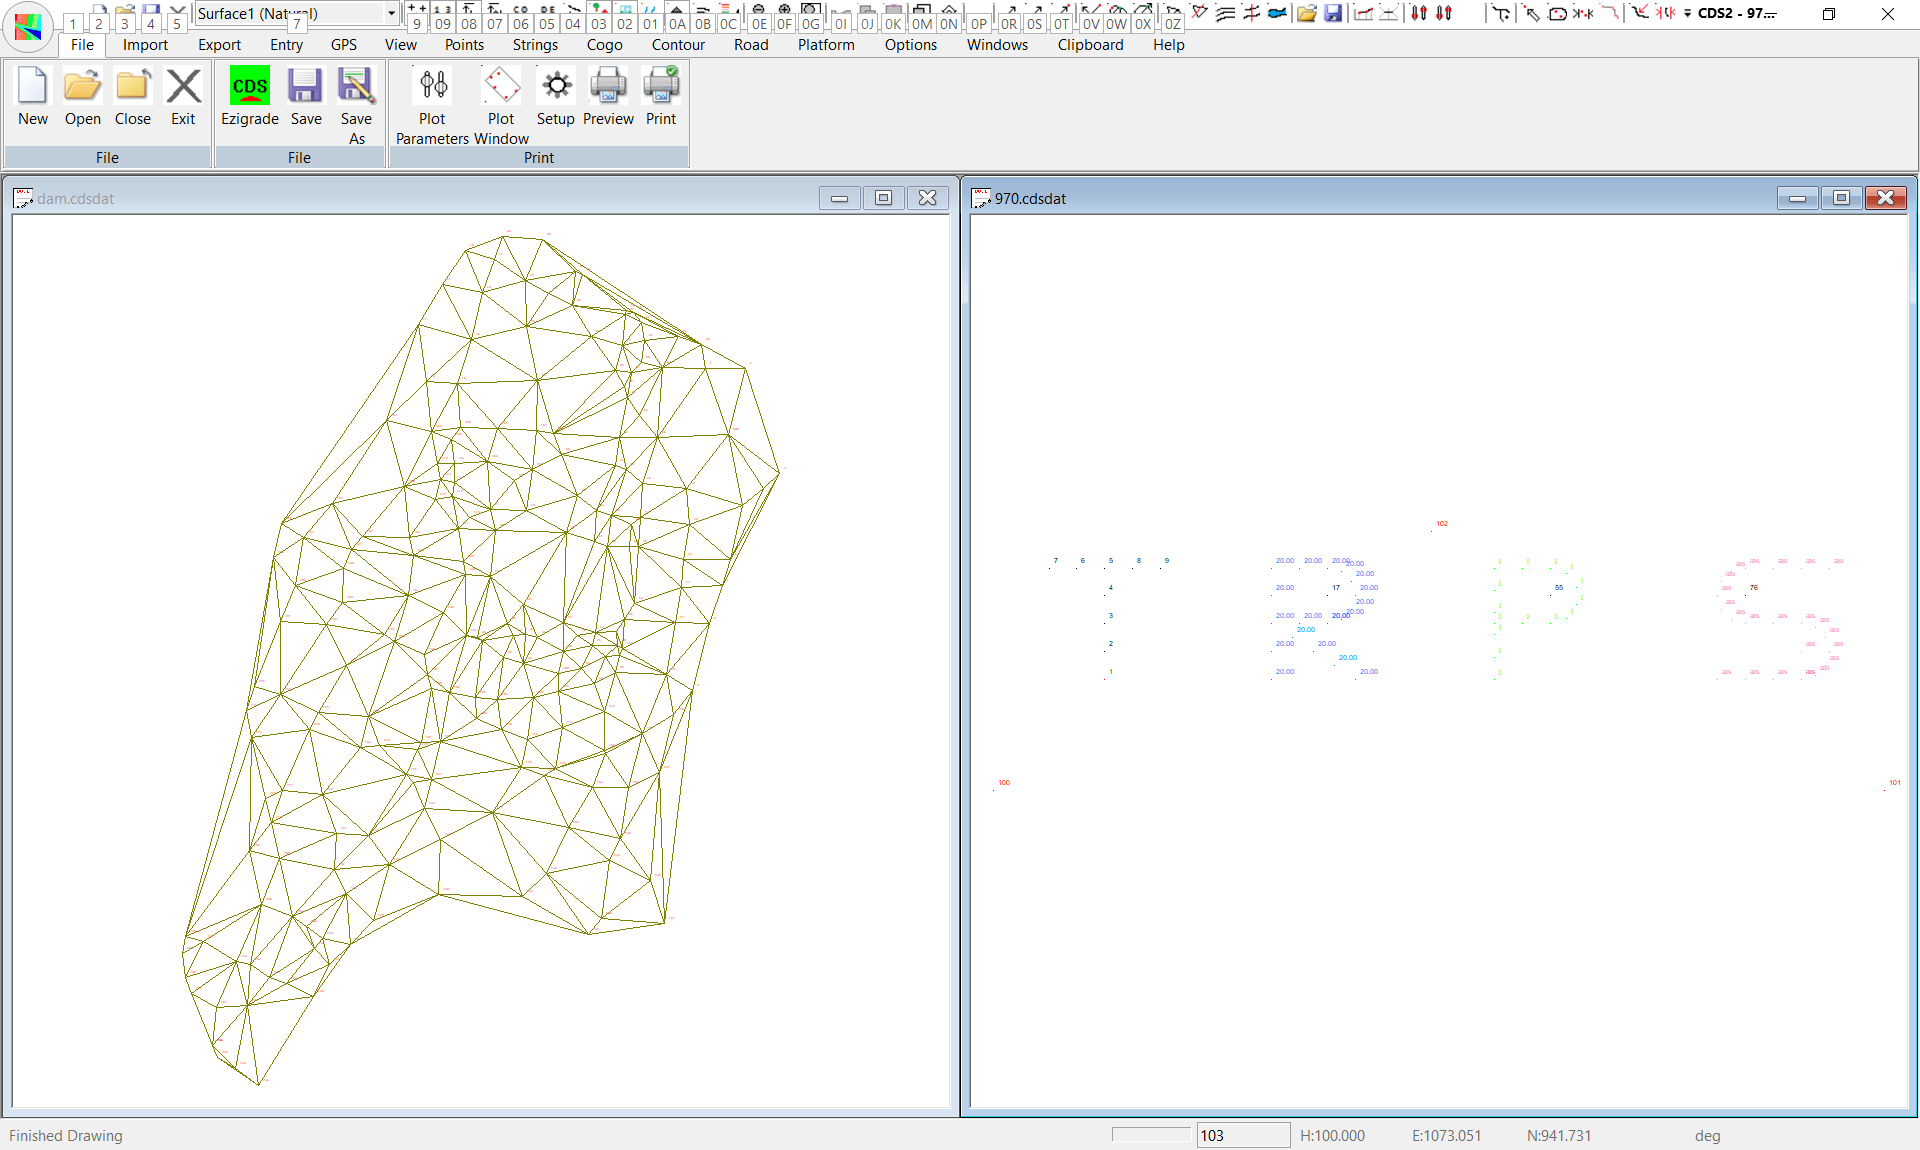
To achieve this, open your first job as normal, and then use the File Open command to open the second job you are interested in. This will automatically open the second job in a new window that will be overlaid over your first job.
Then you use the Window menu and either Tile Vertical or Tile Horizontal depending on the shapes of the respective jobs. The screen below shows an example of what can be achieved with job 970 in the left window and job DAM in the right window.
Please Note that just because the function to open different jobs is available, it does NOT mean that you should use it every time you come to the computer.
It is a fact of life that if you have two jobs open at the one time, the speed of processing of each of the jobs is necessarily degraded over the speed achieved with only one job open, so use the function when you need to, not just as a matter of course.
This ends the initial general introduction to the look and feel of CDS, and if you are comfortable that you know how to use Windows generally, and the functions of CDS explained in this exercise then you can commence on the next tutorial example. If you are not completely comfortable with your ability to work within Windows, to maximise and minimise windows, to alter the default printer, to open and close files and windows then please save us, and yourself, a great deal of heartache and frustration by taking the time to now become comfortable with these items before you go on.
|