| < Previous page | Next page > |
|
Getting Started
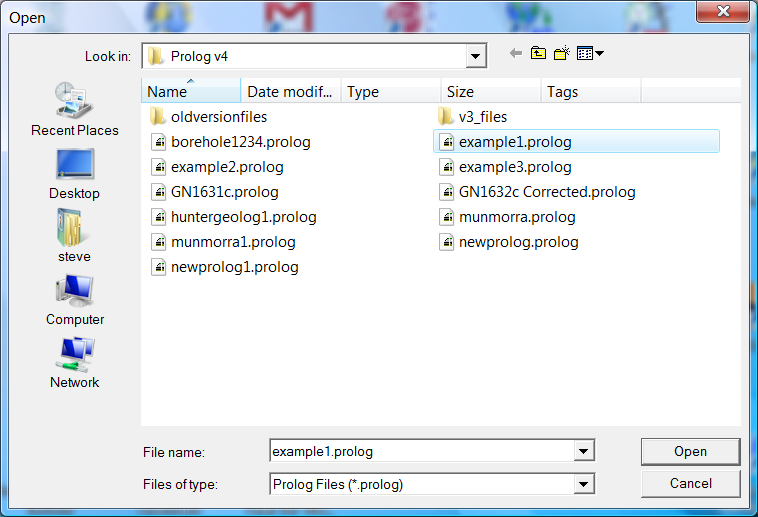
When you first start ProLog, the program asks for a prolog file to display. It defaults to the "My Documents\prolog v4" and there are 2 files preloaded. If you wish to follow the data below select the example1.prolog file.
 a a
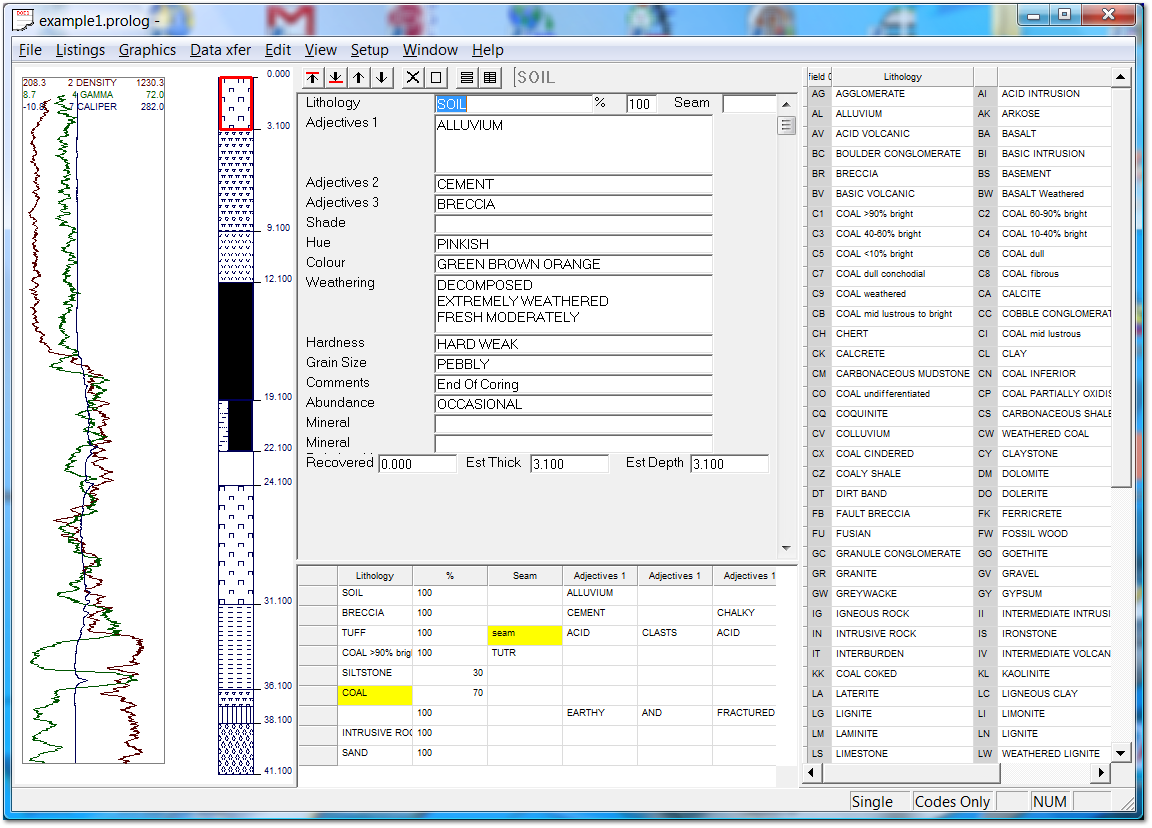
The data is displayed as below. If you don't see the LAS file then drag the splitter window to the right of the graphics. If you drag it far enough then a LAS file is displayed as well:
The first thing that you need to be aware of is the fact that you can configure the prompts on this screen to suit your own particular projects.
To do this you need to use the Setup feature.
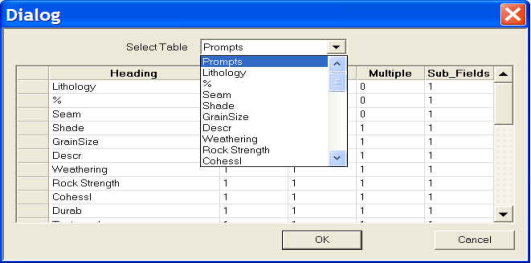
Pull down the Setup Menu and select Prompts.
The following dialog box will appear as below.
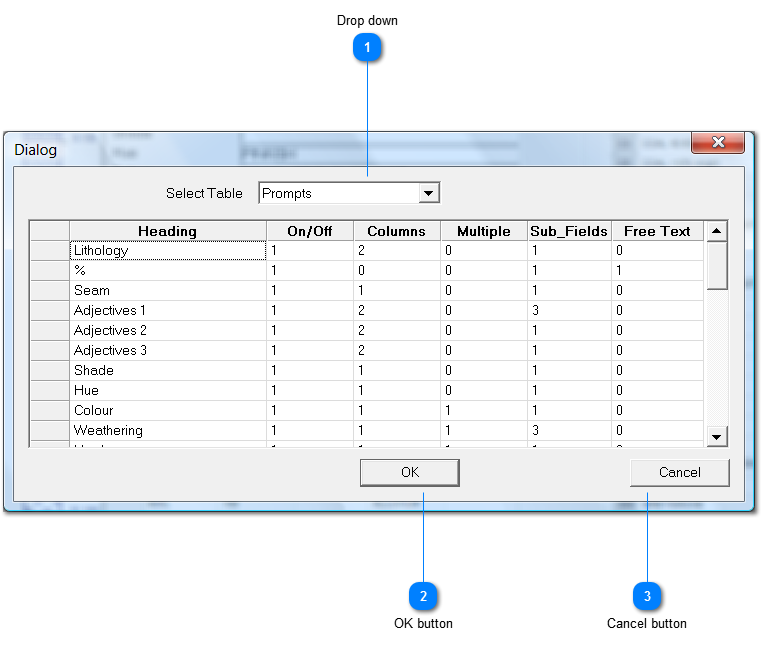
The columns and there functions are:
This table allows you to configure exactly which entry fields you will be prompted for, and the prompt you will see.
First we will examine how you can turn entry fields on and off to configure the entry screen to suit your own purposes.
Use the slider bar on the right to move down so you can see lines denoting Abundance and the Mineral and Mineral Abundance fields.
To maintain compatibility with data from previous versions of the program, On is represented by a 1, and Off is represented by 0 (zero).
Here we wish to dispense with the fields from Abundance and the 2 Mineral fields. So enter zero in the On/Off Column for each of these lines.
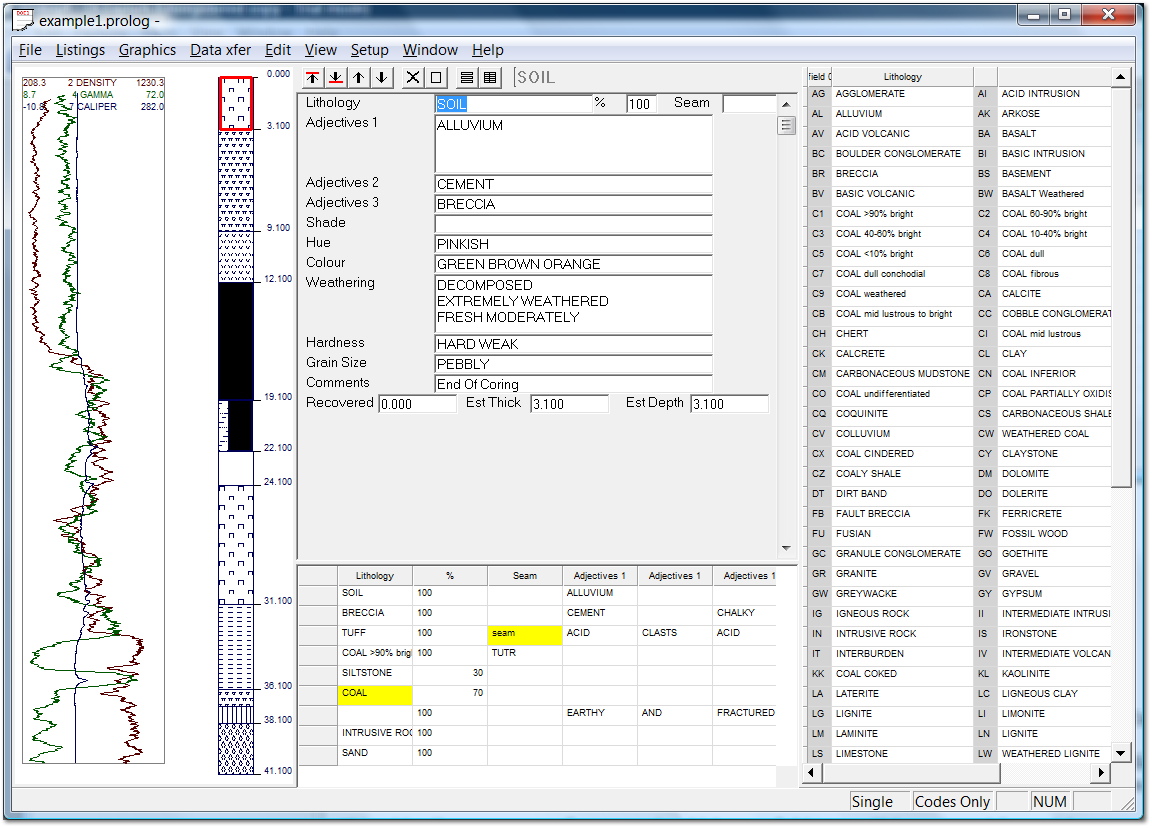
Once you have completed that, select OK and the screen will now appear as below, showing only the entry fields you have selected.
As well as specifying which entry fields are displayed, you can also change the label adjacent to each field to suit yourself.
For example, pull down Setup, and select Prompts again.
This time select the “heading” box on Line 1 with your mouse. It will appear shaded around the box when selected.
Once the box is selected you can type in the new heading or label you would like to use, and what you type will replace the existing entry.
Here for example we have typed in “Colour” to replace Shade Colour, Granularity to replace Grain Size, and Descriptors to replace Adjectives.
You can use this same method to alter any of the items which appear in the various prompt tables.
For example, pull down Setup and select Prompts once more.
This time use the Pull Down option on the Select Table field and the screen should appear as below.
You will see that by moving the slider bar you have access to each of the available entry fields.
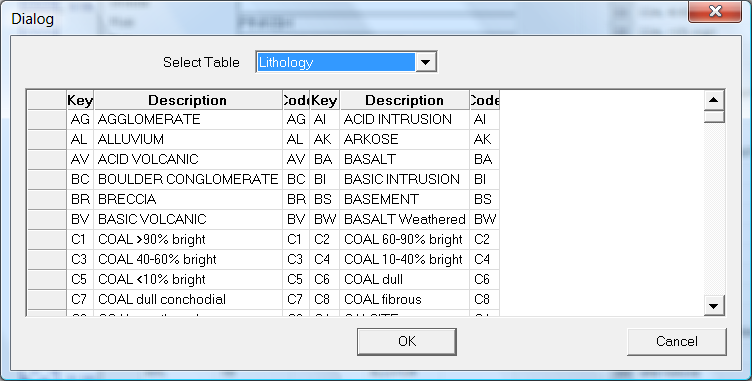
If you select the Lithology option, your screen will appear as below.
You can see that you have 3 columns which are;
Key - the entry key you wish to use
Description - the full description you wish the program to generate for the particular key.
Code - the code you would like to use if or when you transfer your data to another program format.
You may select any of the fields available by clicking inside it with the left mouse button. Once the field is selected, you can then type in anything you want, and what you type will replace what is already in the field.
If you wish to add totally new entries, use the slider bar to move down until you find blank fields and enter as you choose.
Another Way of Configuring Prompts
You can also configure the prompts to use using excel or Open Office. From the File menu click on the "write csv template" option. Enter a file name such as mytemplate.csv (make sure you include the .csv) and the menu structure and all the data in the pop up menus is brought up in excel automatically. Modify this as appropriate and then select the "read csv template" from the File menu. The modified template will be brought in and used. Make sure that you maintain the number of heading rows.
|