| < Previous page | Next page > |
|
Still More Introduction
In this third tutorial introducing you to the methodology and features of CDS you will learn how to.
In order to maintain consistency with the "windows way" of doing things, CDS introduces the concept of "Selecting" items, and then changing the selected items. In our case the "items" we are interested in selecting are Points and Strings, and they can either be selected independently of one another, or you can select some strings, and then select the points contained in those strings.
Before you commence this tutorial, it is important that you are familiar with the Windows operations of Cut, Copy and Paste, and that you understand the concept of the Windows Clipboard. We are not attempting to teach these concepts here, merely how they can be applied to your surveying calculations, so if you are not already familiar with them please take the time now to go back to your Windows manual and read up on what they do.
We will start the introduction by showing you how to work with points. Start CDS, and make sure that Job IN2 is current, and is zoomed to its extents and maximised in the display.
You have had a preliminary discussion with your local town planner who has said that the park on the corner looks fine, but he would prefer to see an alternative layout of blocks where the commercial area is moved further down towards Lot 1.
What we propose to do here is to take all the points which make up the area of the Park, alter them to put them on a layer of their own, and copy them to a new job where we can try a new arrangement to suit the aesthetic enjoyment of the planner.
Select Points by Polygon
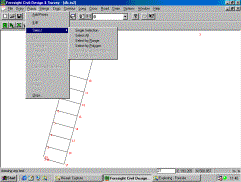
Here we wish to select the points by Polygon, so select that particular option with your mouse.
Now the idea is to construct a polygon that encloses all the points in the park. There are many and varied ways you can draw the polygon, but for those of you who are not adventurous, you should start by positioning your cursor to the left of, and below Point 23, and pressing the left mouse button. Now move your cursor up until it is above and to the left of Point 20, and again press the left mouse button. You will note that a line is drawn following your cursor as you move it, and when you pick a point with your left mouse button it 'anchors' that particular corner of the polygon you are creating. Now move your cursor across until it is to the right of Point 22, and you will see a 'triangle' drawn as the polygon you are creating follows your cursor. Pick a point somewhere in this region, and then move the cursor down until it is below and to the right of Point 21 and your polygon completely encloses the area of the park. Pick the point with the left mouse button, and then press the Enter key to end the creation of the Polygon. You will see the points will now change colour, indicating that they are "selected".
At this stage, we wish to "alter" all the points selected to put them on a layer called "park". Pull down the Points menu, and this time you should notice that since we have selected some points, all the options except for Paste are now available.
(Paste only becomes available when there are some Points already on the clipboard.)
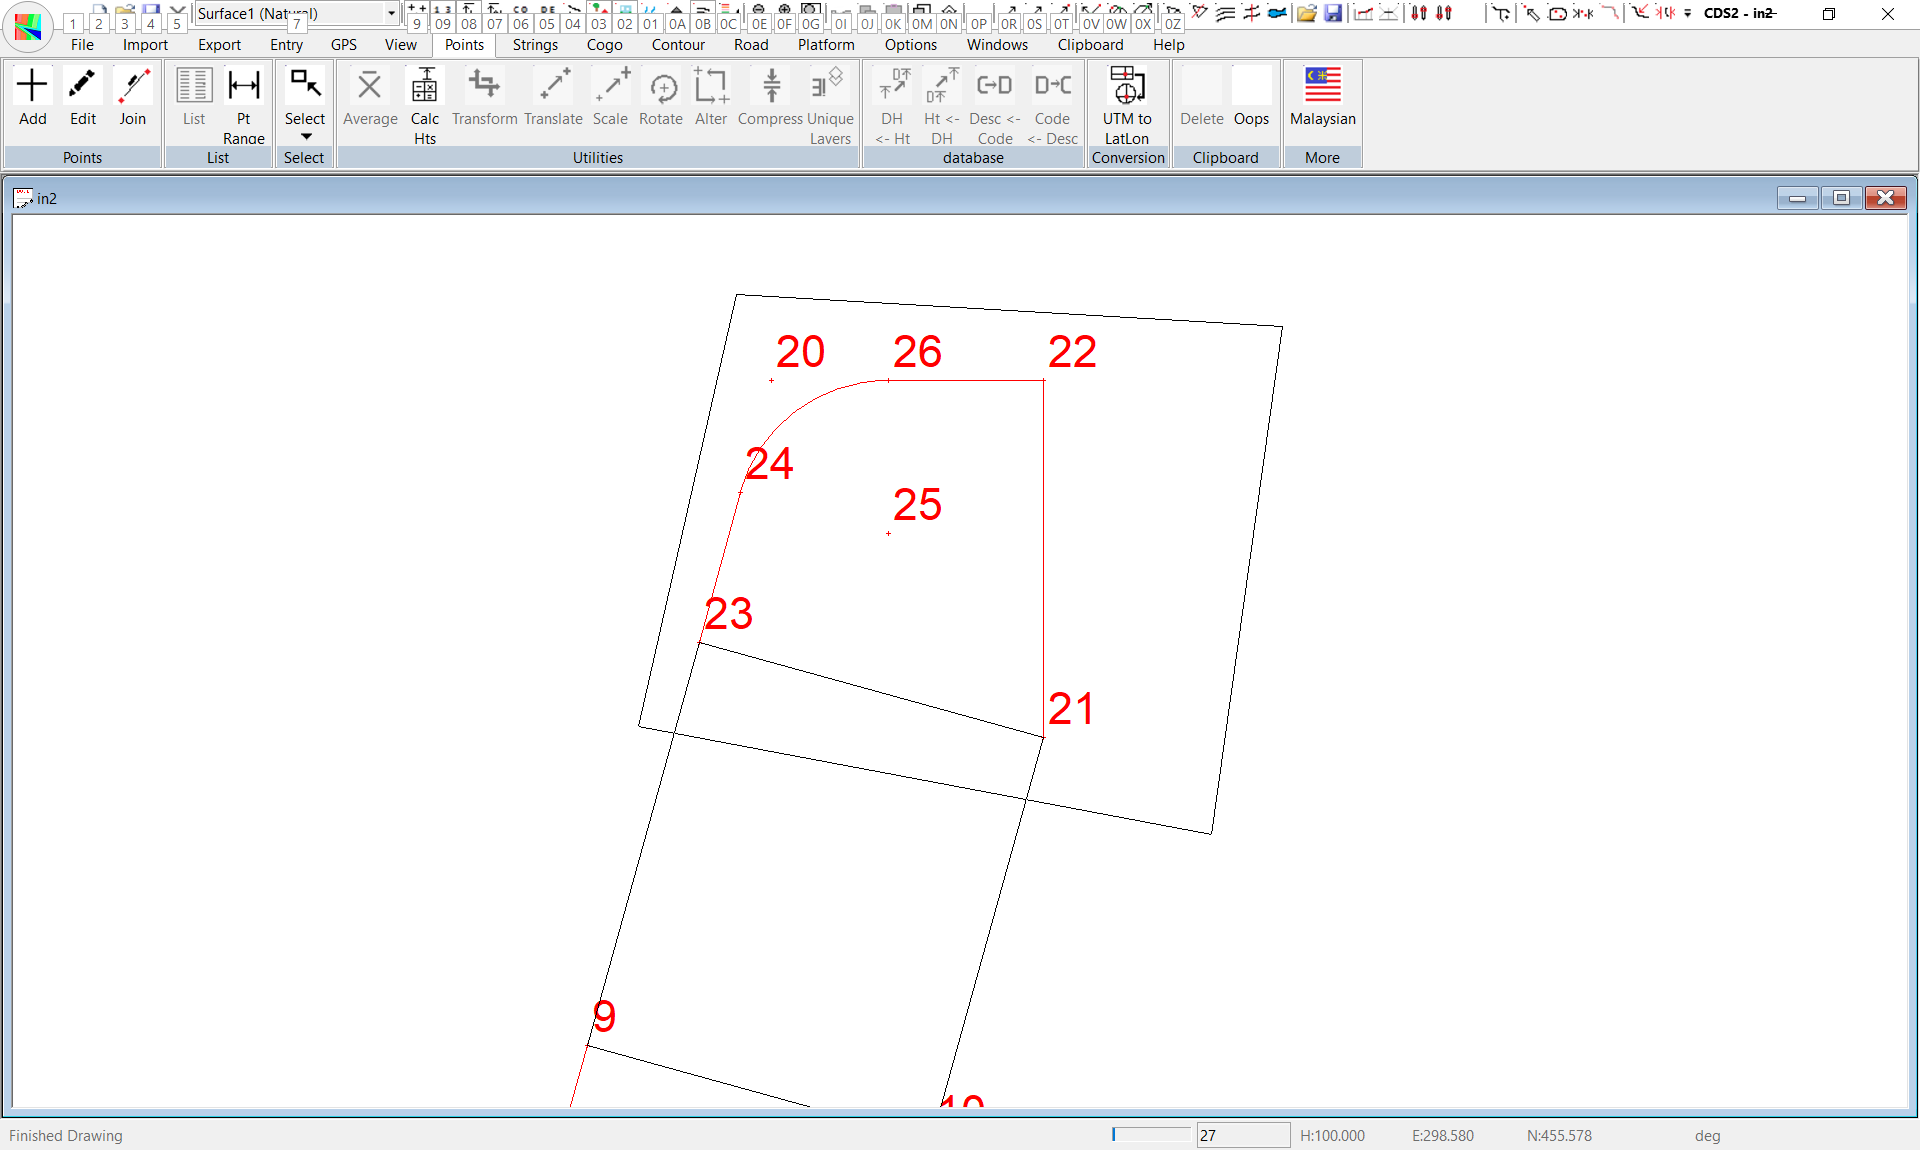
Altering points.
Select the option titled Alter and a popup window will appear as seen on the next page.
Selecting Individual Points.
Pull down the points menu again, go to Select and pick Single Selection.
You will now notice that your cursor has changed from the pointing arrow to a "crosshair".
Position this crosshair over Point 2 and press the left mouse button. You will see Point 2 change colour to indicate that it is now selected.
In CDS, we have decided to vary slightly from the 'standard' method of selection so you don't need to remember about holding down various keys while you do things, and the selection mode is cumulative in that anything selected is added to the group of things already selected. Put simply, in CDS once something is selected it stays selected until you clear that selection. And if you first select Item 1 (being either a single point, or a group of points within a polygon) and then select Item 2, both items will be selected. We also wish to select Point 1, but you will need to Zoom up on that area to see it.
Press the Z key (or use the Zoom Icon), and put a window around the bottom left hand corner of the Job where Point 1 lives. Then select it with your crosshair and see it change colour. Now Zoom Extents again, and you should see Points 1 and 2 as well as the points in the park shown in a different colour to the remainder of the points in the job.
Copying the Points.
Once the points you require are selected, you can Copy them to the Clipboard.
You can either pull down the Clipboard menu and select Copy, or you can use the "Copy Icon" on the Toolbar, or you can even use the "Ctrl C" shortcut by holding down the Ctrl key while pressing C.
The Points and their coordinates are then copied on to the clipboard. Note that they are not deleted from the original job, rather as the name implies, a copy of them is made.
Paste Points.
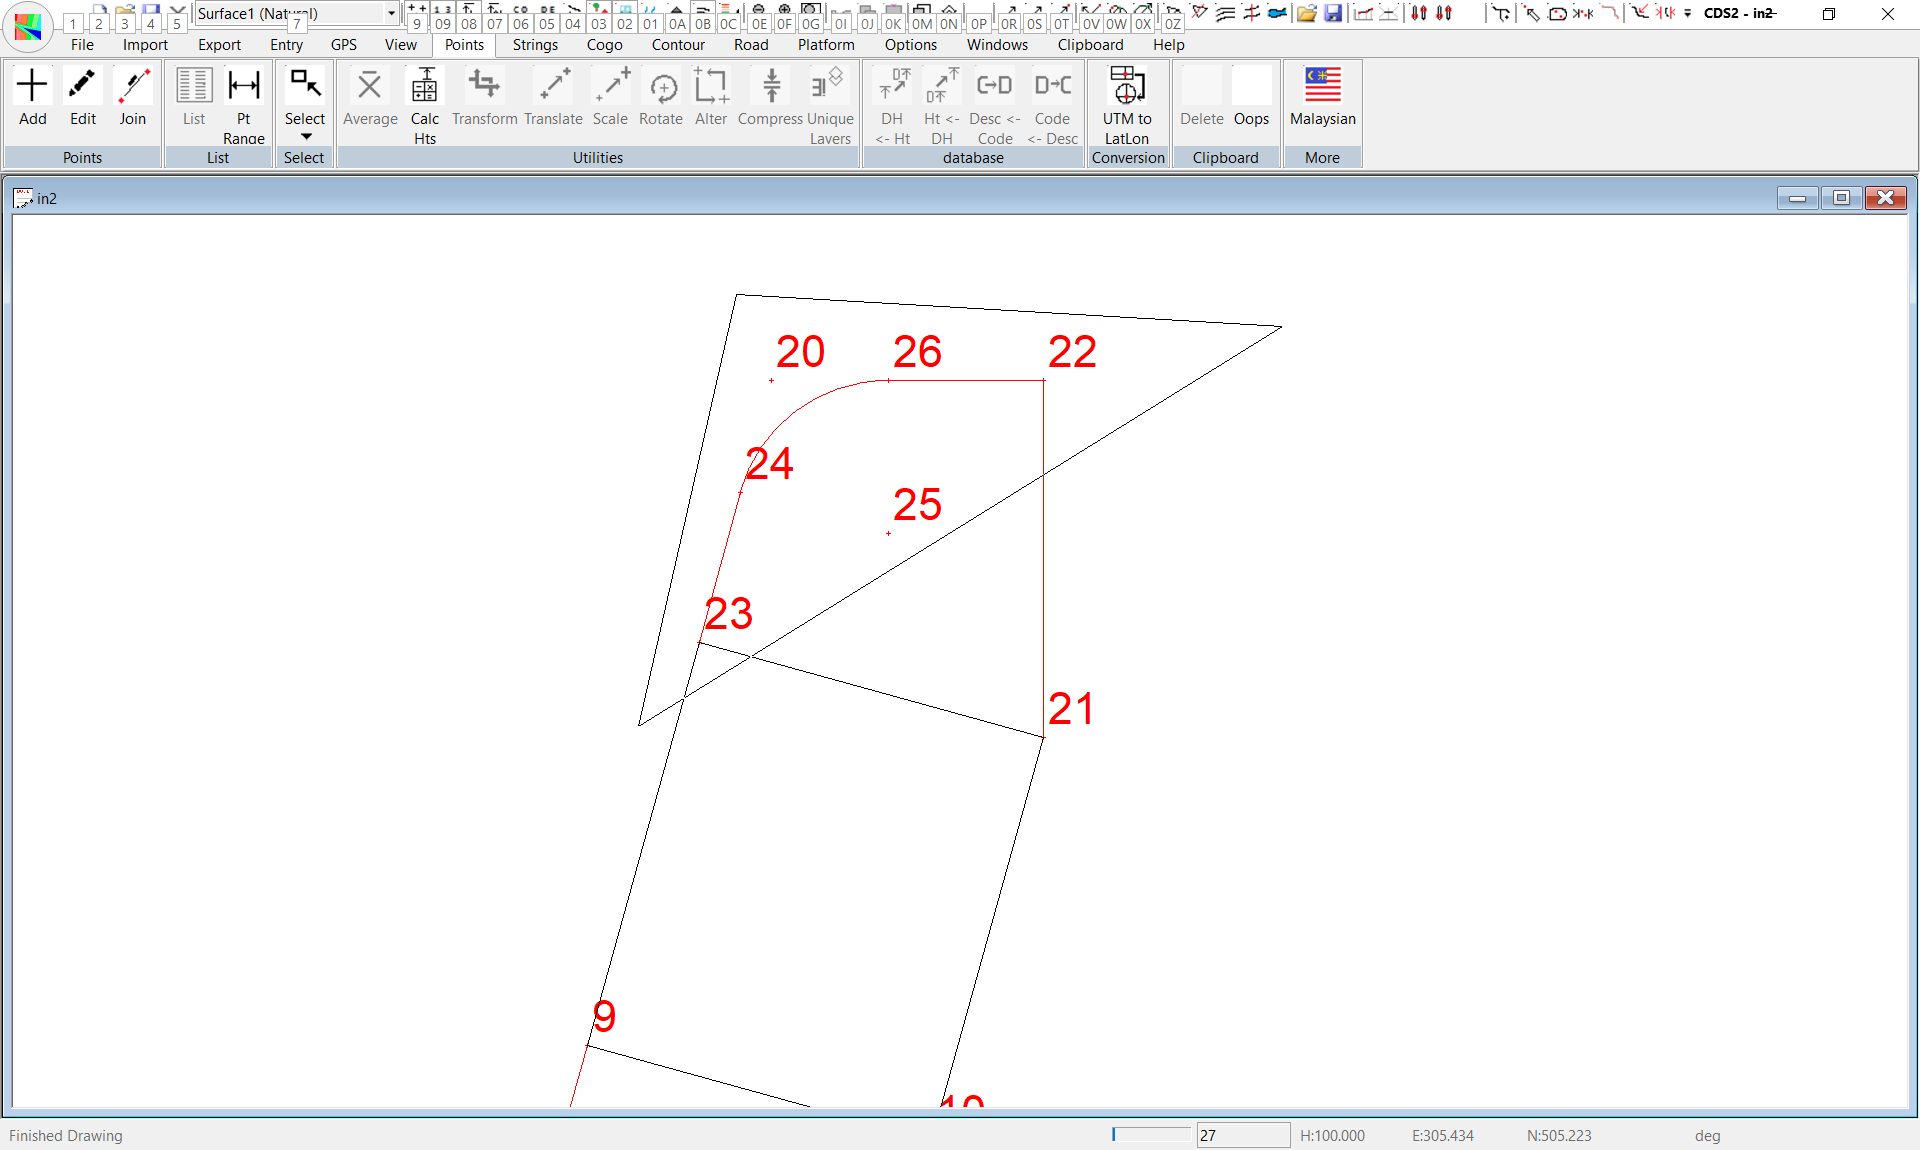
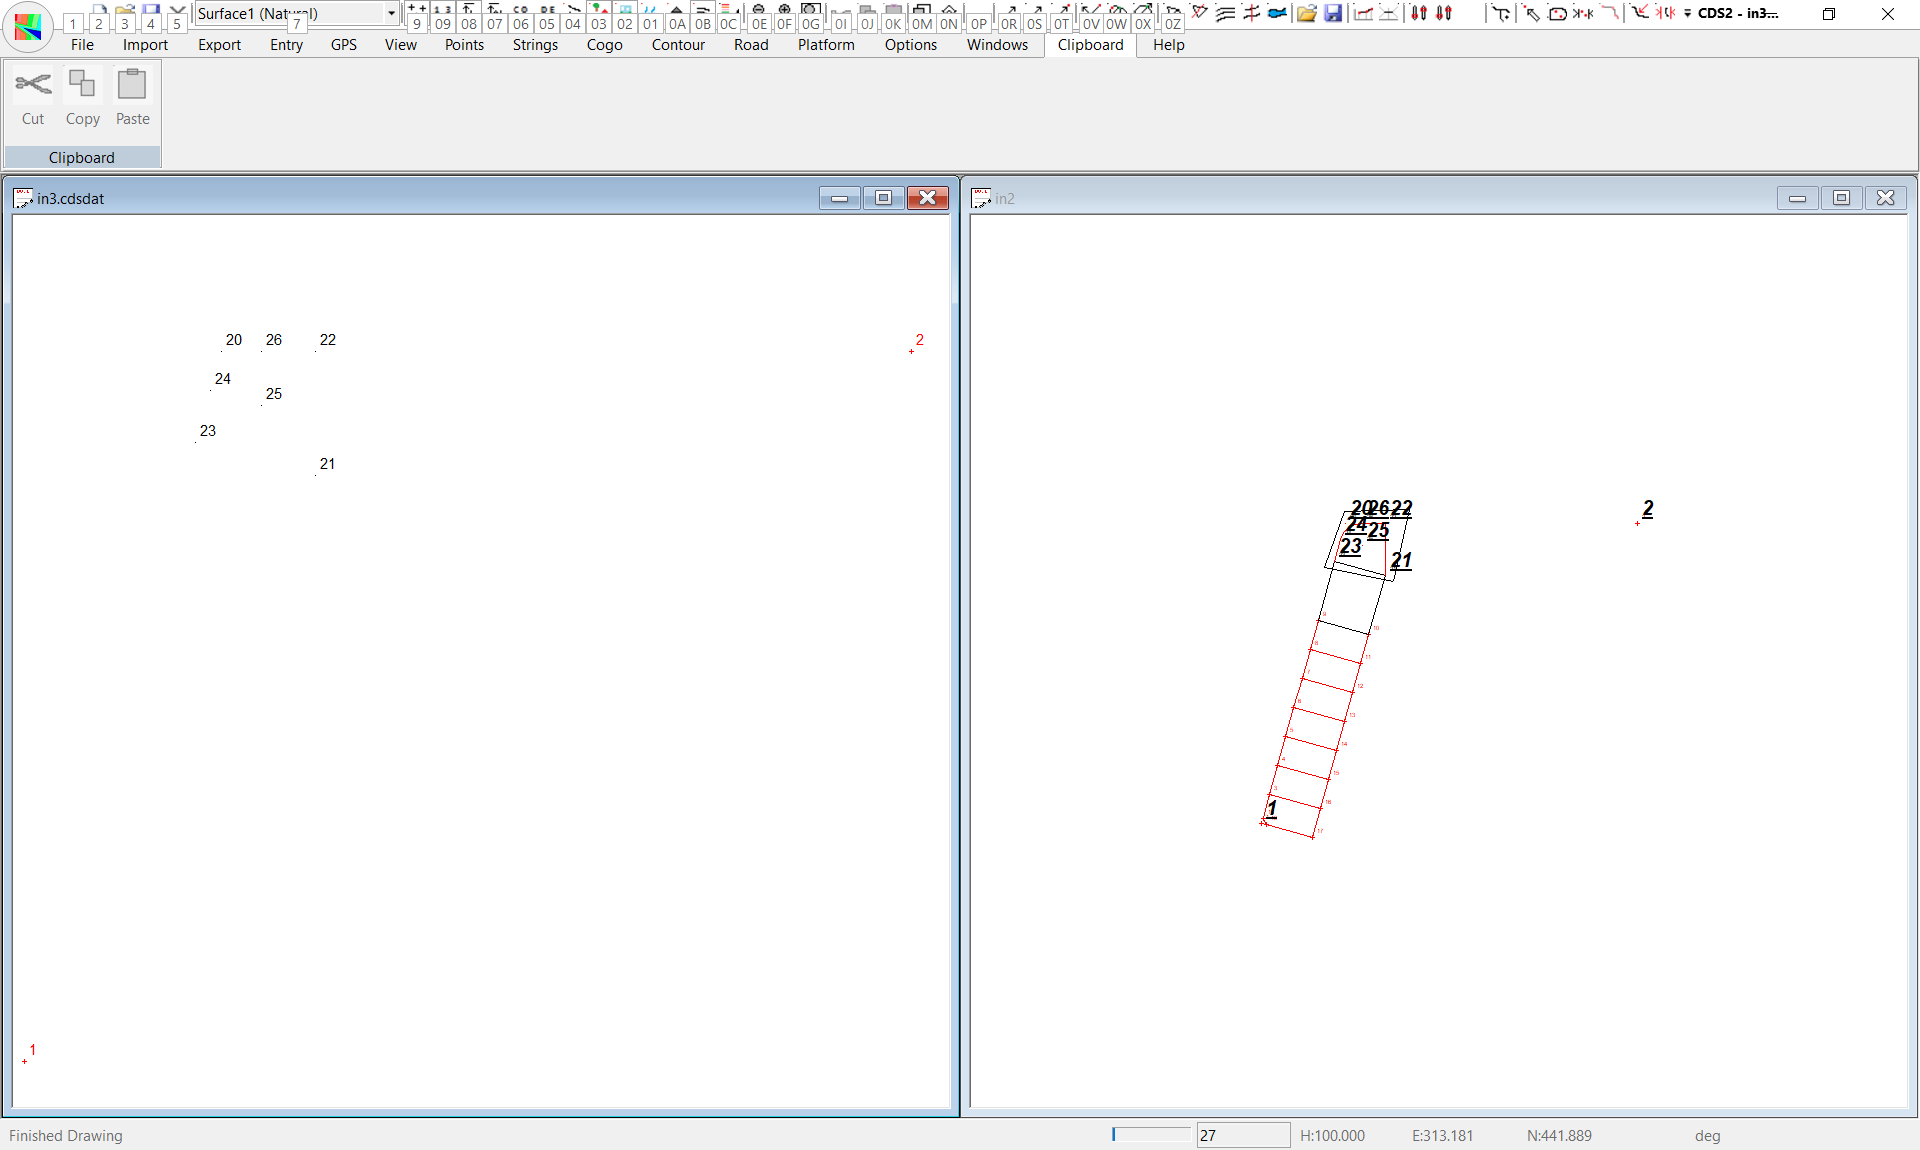
To get the points into it you need to use the Paste function. Click on the Clipboard menu and you will see that the paste option is available because there is data on the clipboard. If you select Paste, the points will now be placed into Job IN3, and if you then Zoom Extents, you should see a screen like that at right.
Selecting Strings.
The methodology of selecting strings is the same as you have already learnt for selecting points, with only some slight changes due to the difference between points and strings. If you pull down the Strings menu, and then highlight Select, you will see similar options to those in Points. In this instance, you could use the Single String option and put the crosshair over one of the boundaries of the Park, but since the function of these tutorials is to teach you how to use various options, we will use Select by Range.
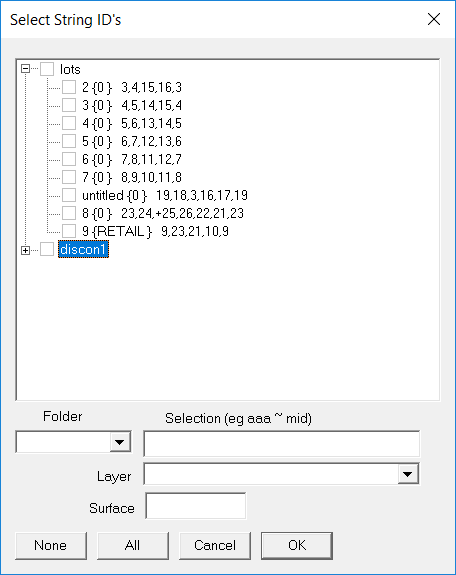
When you choose this option, a popup window will appear as seen in the screen below. This will provide a "tree diagram" showing all the string folders in the Job.
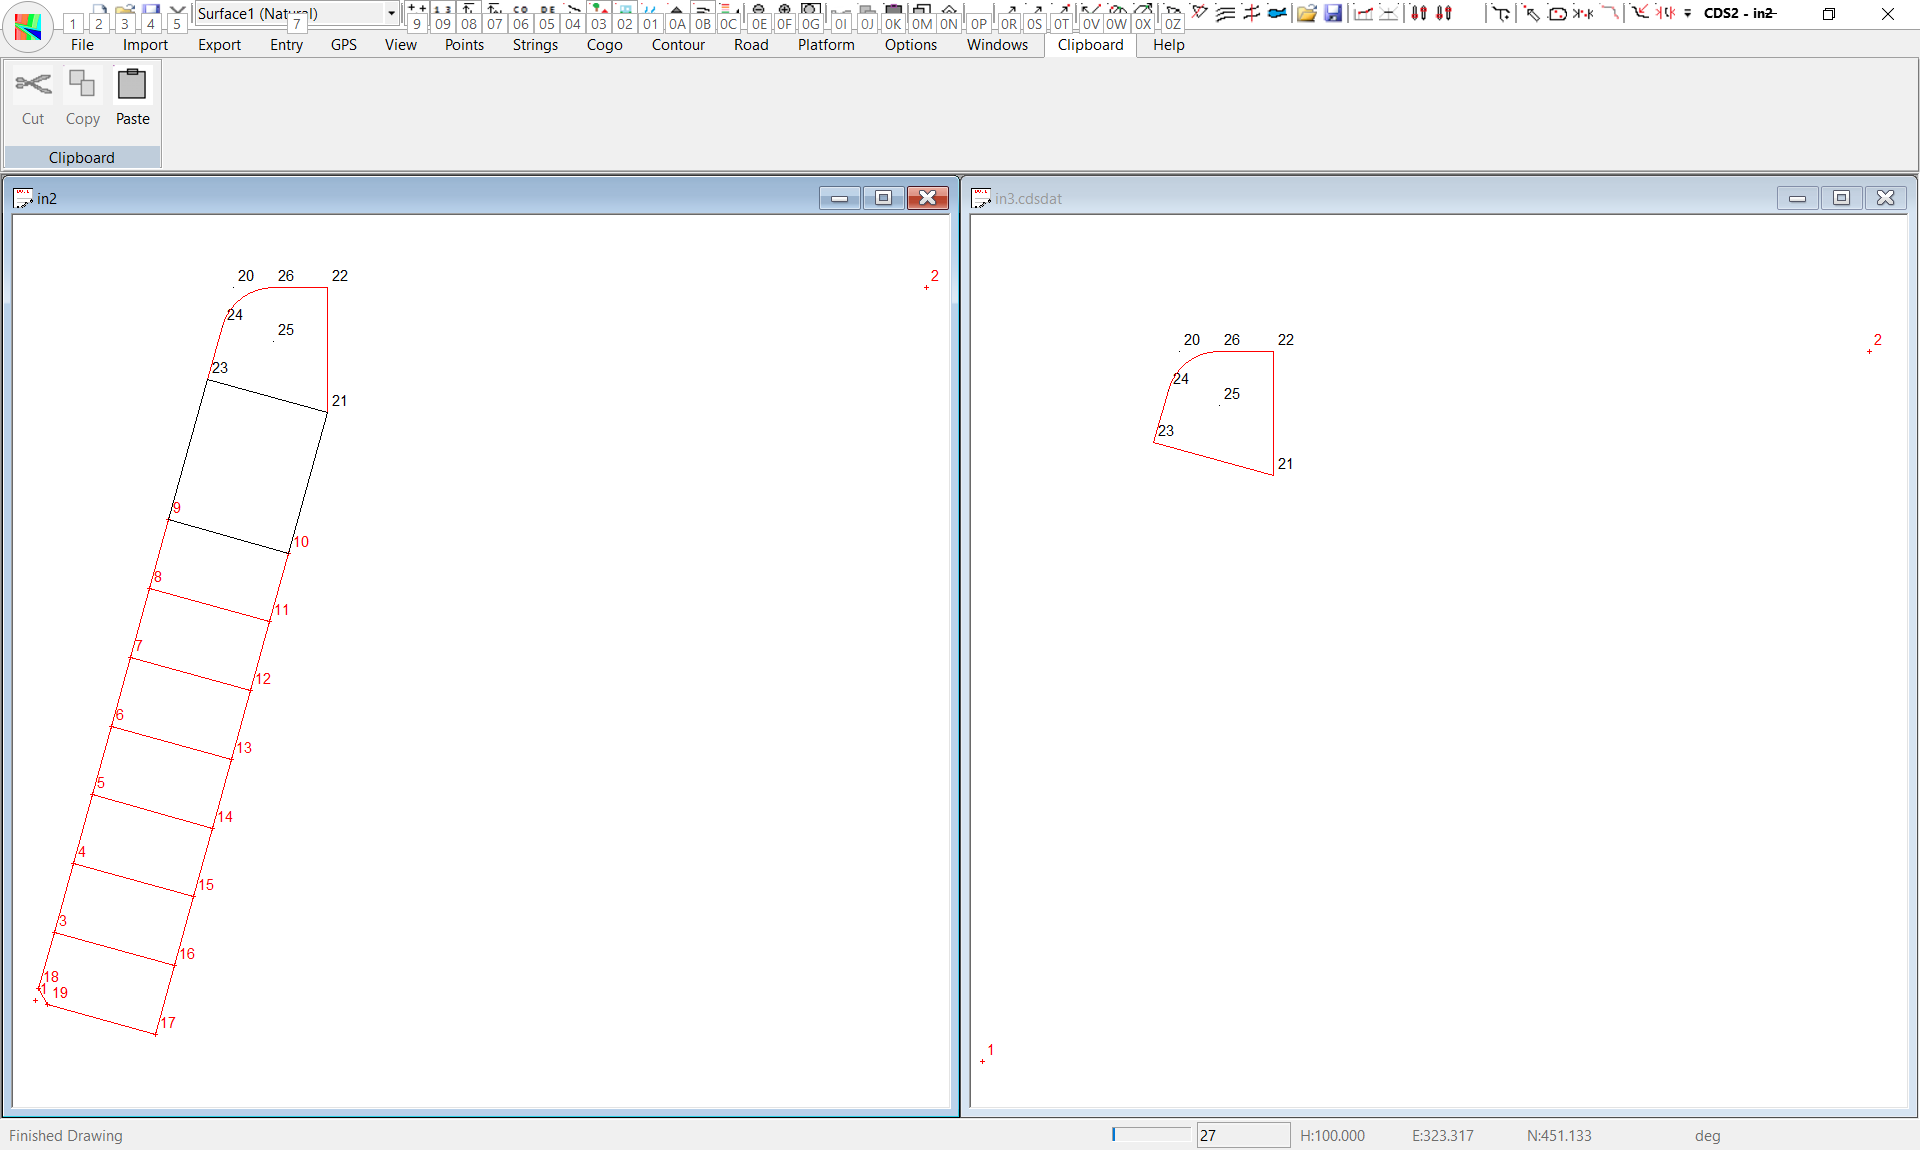
Here you should check the box adjacent to "Park" as seen in the screen above, and then select OK to return to the screen. You will see the string "park" highlighted as seen in the screen at right. Next you should Copy the string to the clipboard using either the Copy Icon, or by pulling down the Strings menu and select the Copy option. Now position your cursor in the window of Job IN3 and press the left mouse button to make the window current. You should notice that all the points are still shown as "Selected" , and since this is of no further use to us, you should hit the "Esc" key.
Then you should Paste the string with either the Paste Icon or by pulling down the Strings menu and selecting the Paste option. A window will appear suggesting that you Change String Folder and offer the default folder of Lots which you should select in this case.
Select Strings and Points together.
If you click in Job IN2 to make it the active job, you will see that the string “Park” is still selected. If you now go to the Points menu and highlight Select, you will see that the option Select by Selected Strings is now available. If you select that option, you will see the points which make up the park will now be selected. You can now copy and paste these points as shown above.
Now that you have finished these first 3 Tutorials, you should be comfortable with the general “look & feel” of CDS.
You should be confident that you can
Open Existing Jobs
Zoom and Pan the Display
Use Modes & Layers to control what is displayed
Understand the Interaction between Modes & Layers
Create New Jobs
Add Points
Calculate Points
Define Strings
Select & Copy Points and Strings
If you are not completely confident of your ability to achieve any of the things listed above, please save us both a lot of time and frustration by going back and revising the things you are unsure of before you proceed to the next tutorial.
|