| < Previous page | Next page > |
Ezigrade User Interface
Here is a screen shot of initial view when a job is opened within Ezigrade. The display is broken into a number of discrete area's.
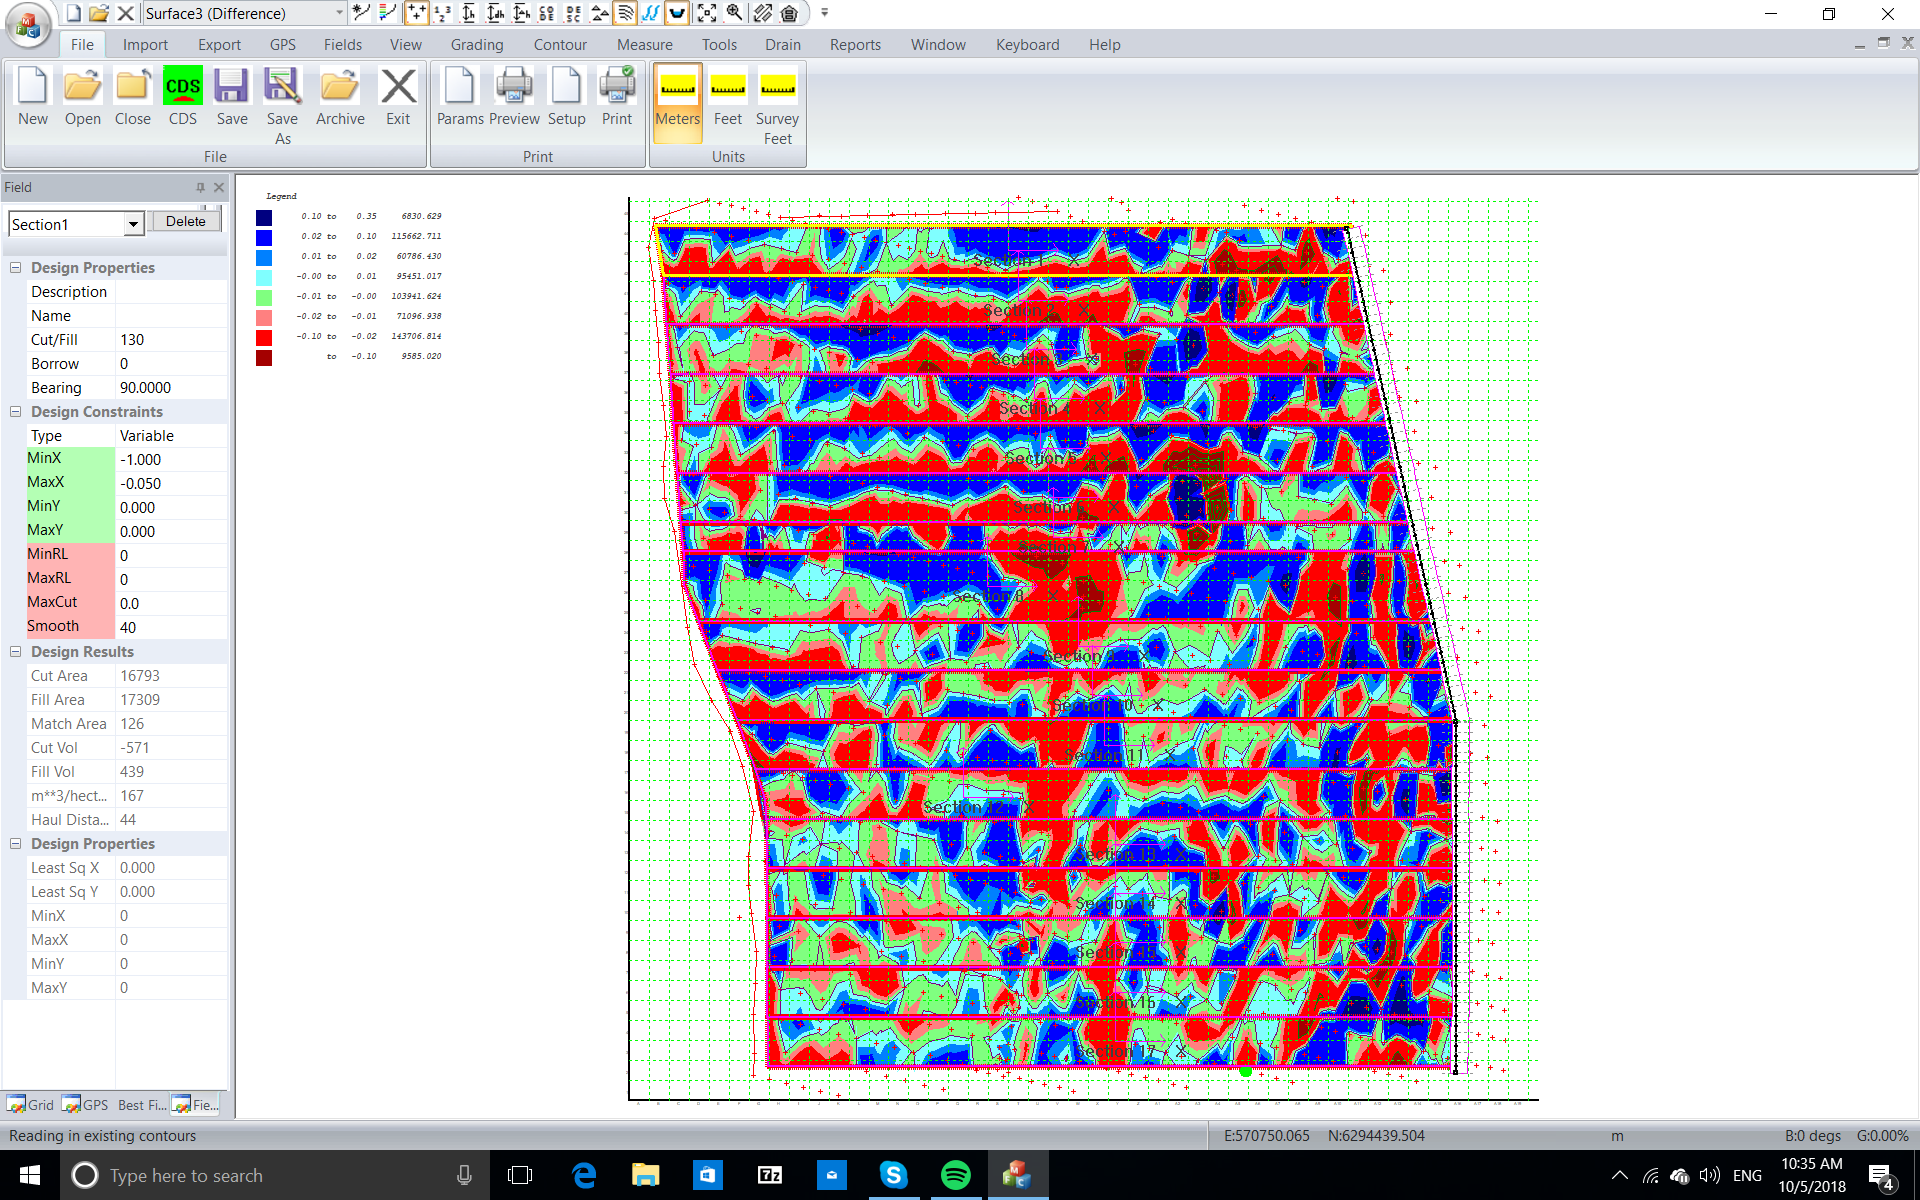 Top Row:
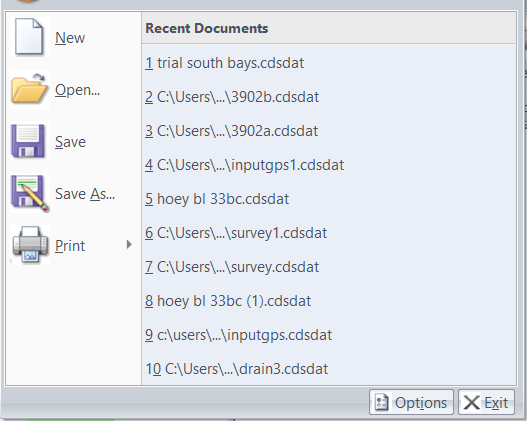
Here we have the Ezigrade icon and quick access buttons. Clicking on the icon brings up File commands and Most Recently Used "MRU" list.
We also have a toolbar holding quick acess buttons. If they are too small to use on your tablet device then you also have the option of working through the full menu item below. This is a screen shot of the toolbar items:
From left to right we have:
File -> New
File -> Open
File -> Close
Combo box to change displayed surface
Current Surface parameters
Current Surface Colors
Display points
Display point numbers
Display heights
Display design heights
Display difference heights
Display codes
Display descriptions
Display triangles (digital terrain model)
Display contours
Display water flow
Display drain
Zoom extents
Zoom window
Measure grade and distance
Measure area
There is also a little drop arrow that allows you to enter any other menu commands as necessary. At present this is not stored between sessions but is on the list.
Menu Row:
The main menu items are in the top row. ie File, Import, Export etc and the corresponding sub-menu items are displayed in the ribbon below. Each of these menu items are discussed in the pages below.
Import Menu
Export Menu
GPS Menu
Fields Menu
View Menu
Grading Menu
Contour Menu
Measure Menu
Tools Menu
Drain Menu
Banks Menu
Pipes Menu
Reports Menu
Window Menu
Keyboard Menu
Help Menu
Left Docking Window:
To the left of the main view window we have a window docked to the left of the display. It is possible to allow this window to float or you could dock it to the right of the display if you really must. However we suggest that to leave it docked to the left. If you look toward the bottom of this docked window you can see 4 icons. You can display different docked windows here depending on what you need to do at the time.
Please click on the appropriate link to view further details of the different docking windows available:
Points, Edit and view point data.
Results, Grading volume summary.
Messages, warnings and errors.
The contents of Ezigrade User Interface |